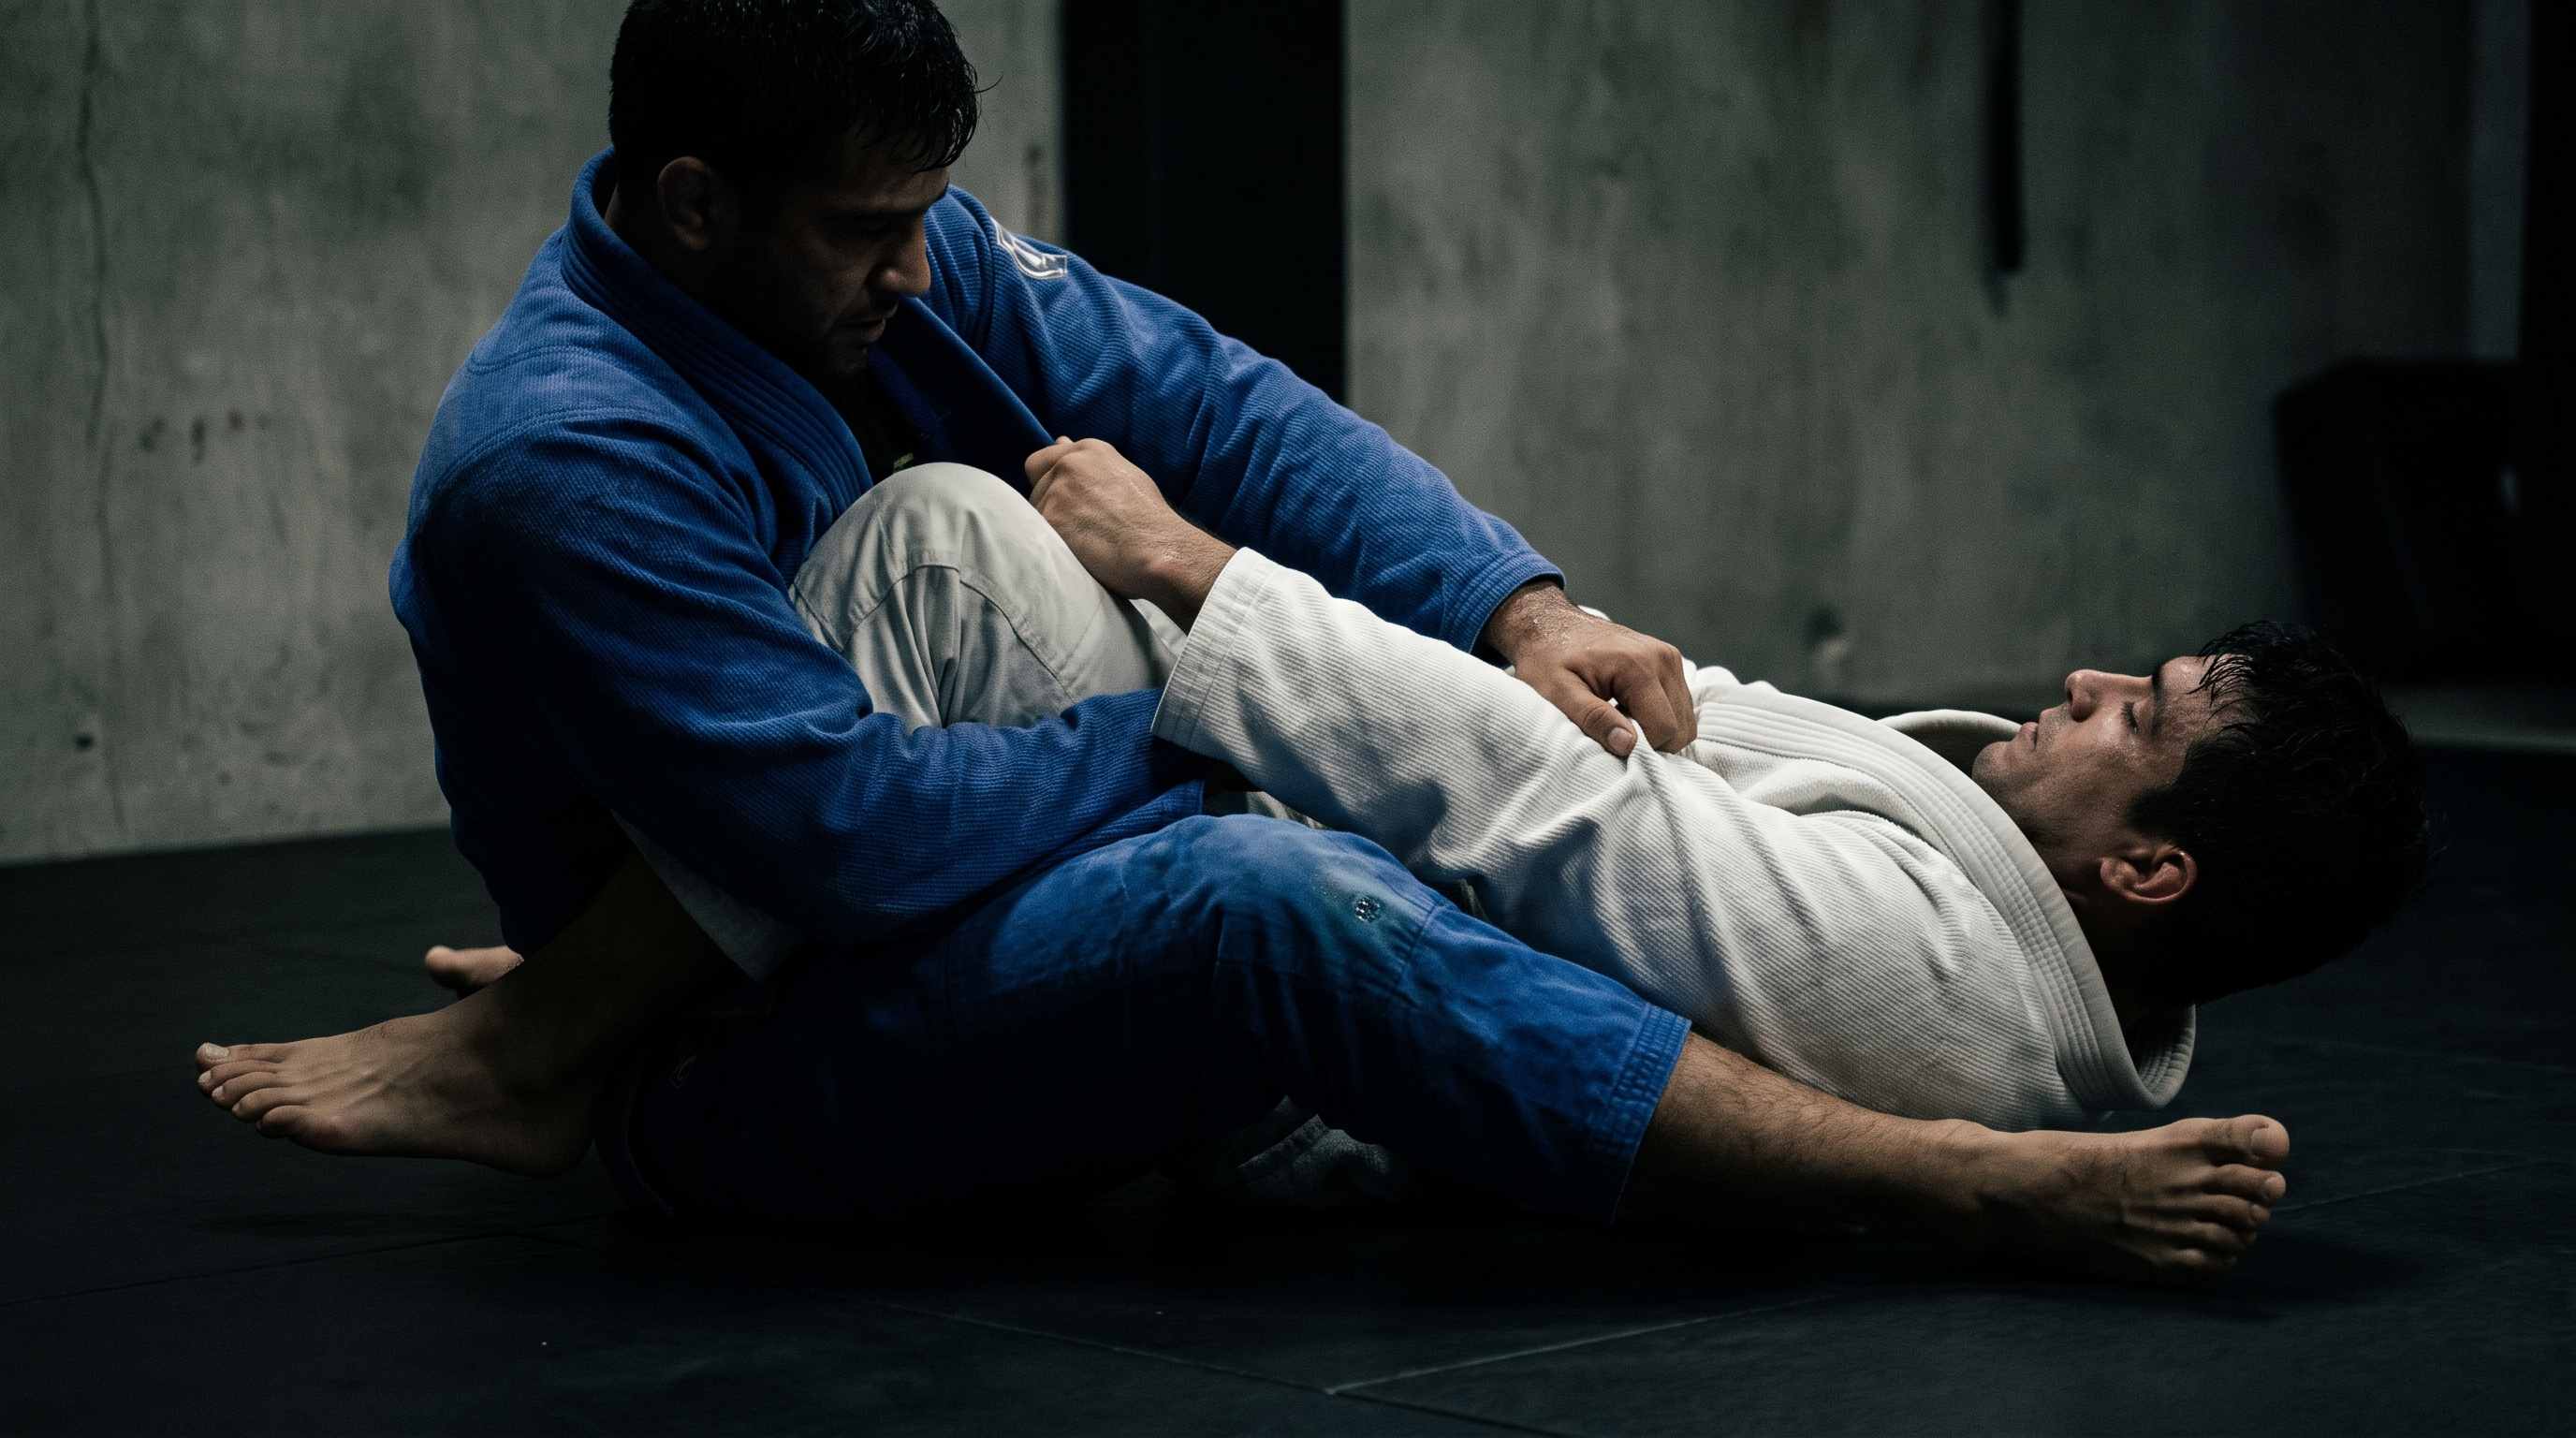
Armbar from Closed Guard: Setup, Grips, and the Detail Most Beginners Miss
TL;DR. The armbar from closed guard fails for most beginners because they try to finish it straight from the middle, without breaking posture, without an angle, and without controlling the far shoulder. To land it consistently, break your opponent's posture, take a same-side sleeve and cross-collar or overhook grip, cut the angle by pivoting your hips off-center, trap the arm tight to your chest, then swing your leg over the head with your knees pinched. The detail almost everyone misses is elbow control: if you don't pin their elbow above your hip line, they will yank the arm out every time.
The armbar from guard is one of the first submissions you learn in Brazilian Jiu-Jitsu and one of the last you actually finish in live rolling. In class it feels smooth. In rolling, your partner postures up, pulls their arm out, stacks you, or somehow ends up in your half guard. If that sounds familiar, this article is for you.
We'll walk through why the armbar from closed guard fails so often for white and blue belts, then rebuild it as a simple, repeatable system: grips, posture break, angle, arm isolation, finish. At the end you'll get a common-mistakes list, a way to actually remember the details between classes, and a short FAQ. This is a technique breakdown, not a substitute for a qualified coach — bring these ideas to your academy and pressure-test them there.
Key takeaways
- The armbar from closed guard is a four-part sequence: posture break, angle, arm isolation, finish — skipping any part usually loses the submission.
- You must cut an angle before you attack; attacking straight-on gives your training partner an easy posture-up escape.
- Grip fighting matters more than leg placement — control the sleeve and the shoulder before you throw your leg over.
- The detail most beginners miss is trapping the elbow above your hip line so the arm cannot slip out during the transition.
- Pinch your knees together and hide the head hand; a loose finish position leaks power and lets strong partners stack you.
- Finish slowly and with the hips, not by yanking the wrist — safer for your partner and higher percentage in live rolling.
- Drilling the transition (breaking posture → angle → leg over) is more valuable than drilling the finish in isolation.
Why this happens
The closed guard armbar is taught early because it introduces a lot of important concepts: hip movement, grip fighting, angle creation, isolating a limb. The problem is that most beginners are shown the finish ("swing your leg over the head and squeeze") without being shown the setup that actually makes the finish work.
There are usually four reasons the armbar keeps failing:
- You attack from square-on. Your hips are directly under your partner's hips. From there they can simply posture up and drive down, and your leg has too far to travel to get over the head.
- You never broke their posture. A tall, upright partner can pull their arm straight back out. You need to bring their chest down toward yours before you commit to the attack.
- You have no grips. No sleeve, no collar, no overhook. Your partner is free to move their arms, hide their elbows, and posture up whenever they want.
- You lose the elbow during the transition. This is the big one. The moment you shift your hips to swing your leg over, the arm becomes a slippery fish. If their elbow slides below your hip line, the submission is already gone — you just don't know it yet.
Once you understand these four failure modes, the armbar stops feeling random. It becomes a checklist.
Remember. The armbar is not a leg technique. It's a grip and angle technique that happens to end with a leg over the head.
A simple system: 6 steps to a clean closed guard armbar
Here is a step-by-step version you can drill on Monday. It assumes a gi context but the same logic applies in no-gi with different grips (2-on-1, overhook, collar tie).
1. Establish your grips
Start in closed guard, ankles crossed, hips active. Take a same-side sleeve grip (your right hand on their right sleeve cuff, pistol grip if gi) and a cross-collar grip with your other hand, deep behind the neck. In no-gi, replace the collar grip with a strong overhook on the arm you plan to attack.
These two grips do the same job: they connect their upper body to yours so they cannot posture away from you.
2. Break their posture
Pull with the collar grip and simultaneously curl your abs, bringing your chest and their chest close together. Do not just pull with your arms — engage your core and let your hips help. Their head should end up near your shoulder, not floating a foot above you.
If their posture keeps coming back, open your guard briefly, pull on the collar, and re-close higher up on their back. Higher closed guard = weaker posture for them.
3. Cut the angle
This is the step almost everyone skips. Push off the mat with one foot, plant your other foot on their hip, and pivot your hips off-center so your body is now diagonal to theirs, not parallel. If you're attacking their right arm, your head should shift toward their left ear.
You'll immediately feel their arm become more exposed. That's the whole point of the angle: it lines up the elbow with your hips.
4. Isolate and trap the arm
Before you throw your leg over, hug the trapped arm tight to your chest, thumb up. Pull their wrist across your centerline. Their elbow should be pinned above your hip line, not below it. This is the detail almost every beginner misses.
Quick test: if you can see daylight between your ribs and their elbow, the arm will escape. Close that gap first.
5. Climb the back and swing the leg
With the arm trapped, walk your top leg up their back — high, near the shoulder blade — and only then swing your other leg over their head. Do not swing the leg first and hope the arm stays. Leg follows arm control, never the other way around.
As your leg comes over, use it to pin their head down so they cannot lift it and posture out.
6. Finish slowly with the hips
Squeeze your knees together, keep the thumb of the trapped arm pointing up, and pinch their wrist to your chest. Then bridge your hips up slowly while keeping their arm straight. The tap comes from hip extension, not from yanking the wrist.
Slow, controlled finishes are safer for your training partners and actually higher percentage — a wild wrench often gives your partner one last chance to spin out.
Remember. Grips first. Posture break second. Angle third. Arm control fourth. Leg last. In that order.
Common mistakes and quick fixes
Here are the mistakes you'll see (and probably make) in almost every open mat.
| Mistake | What goes wrong | Fix |
|---|---|---|
| Attacking square-on | Partner postures up and stacks you | Pivot the hips off-center before you attack |
| Loose grips | Partner pulls the arm free | Same-side sleeve + collar or overhook, checked every rep |
| Elbow below hip line | Arm slips out during the transition | Hug wrist to chest, thumb up, before moving the leg |
| Leg swings first | Arm escapes as you rotate | Trap the arm, climb the back, then swing |
| Knees apart at the finish | Power leaks; partner spins out | Pinch knees; imagine holding a piece of paper between them |
| Yanking the wrist | Injury risk, low finish rate | Extend the hips slowly; let the joint do the work |
| Head not pinned | Partner postures out at the last second | Use the top leg to press their head to the mat |
If you fix even two or three of these, your finish rate will jump noticeably in live rolling.
Drilling this so it actually sticks
A technique you drill once and never revisit is a technique you don't have. For the closed guard armbar specifically:
- Drill the transition, not the finish. Spend most of your reps on the sequence break posture → angle → trap arm → leg over. The final squeeze is the easy part.
- Positional sparring from broken posture. Ask a partner to start with their posture already broken and both grips set. Your only job is to finish or transition to another attack (triangle, omoplata) if they defend.
- Rep both sides. Almost everyone has a dominant armbar side. That's fine, but do at least a few reps a week on the weak side so you can attack whichever arm gets exposed.
- Watch, then drill, then review. After class or after watching an instructional, write down the two or three details you want to remember before your next session. That single habit separates people who improve from people who just log mat hours.
Where BJJ Memo fits in
Most of us watch instructionals on YouTube, learn a detail in class, and then completely forget it by the next session. That's not a discipline problem — that's a memory problem. There is no system to capture what you learn.
BJJ Memo is a mobile app that turns any BJJ YouTube video into a structured technique card — steps, key details, tappable timestamps — and files it into your personal library. Before your next session, you spend a few minutes revising your cards for the position you want to work (say, closed guard attacks) so the details are fresh when you hit the mat.
If you saved this armbar as a card, your revision checklist would be five bullet points: grips, posture, angle, elbow above hip line, leg last. That's enough to walk into class with a plan. You can download BJJ Memo on iOS and Android.
Frequently asked questions
Why does my armbar from closed guard always fail against bigger partners?
Usually because you're attacking without first breaking their posture and cutting an angle. Stronger partners can muscle out of a square-on armbar all day. Focus on collar/overhook control to bring them down, pivot your hips off-center, and only then attack. Size matters less when your mechanics are right.
Should I learn the armbar or the triangle first from closed guard?
Most coaches teach the armbar first because it introduces the hip pivot and arm isolation that also make the triangle work. In practice, they're connected: if your armbar is defended by the arm being pulled out, the triangle is often right there. Learn them as a linked system rather than two separate techniques.
What grips should I use in no-gi?
Without a collar, use a strong overhook on the attacking-side arm and a collar tie or wrist control with the other hand. The overhook plays the same role as the cross-collar grip: it keeps their posture broken and pins the arm you want. Everything else in the sequence stays the same.
How do I stop hurting my training partners with the armbar?
Finish with your hips, not by cranking the wrist, and give your partner time to tap. In drilling, ease into the extension. In rolling, if you feel the arm lock out straight, that's already the submission — you don't need to add force. Training partners who trust you will let you attack more, which is how you actually improve.
How long does it take to get good at the closed guard armbar?
Honestly, months of consistent drilling and positional sparring, not weeks. But you can improve your finish rate in a single session by fixing the biggest leak — usually attacking square-on or losing the elbow. Small, consistent reps beat marathon sessions.
Is the closed guard armbar still viable at higher belts?
Yes, but the setups get more layered. Purple, brown and black belts don't usually hit a clean armbar from a static closed guard — they hit it as a reaction to a defense (of a triangle, an omoplata, a hip bump sweep). The fundamentals in this article are the same; the sequences just get longer.
Wrap-up and next steps
The armbar from guard is not a mystery. It's a checklist: grips, posture break, angle, elbow above hip line, leg last, finish with the hips. Most beginners are missing two or three of those items, and that's why the move keeps failing. Fix them one at a time.
Bring these details to your next class, drill them slowly, then pressure-test them in live rolling. For real feedback and safety, train the technique at a legit academy with a qualified coach — this article helps you remember and revise, it doesn't replace mat time.
When you find an instructional detail that clicks, save it as a technique card in BJJ Memo so it's there before your next roll. Build the library, revise before training, stop forgetting the details.
Last updated 2026-08-14.