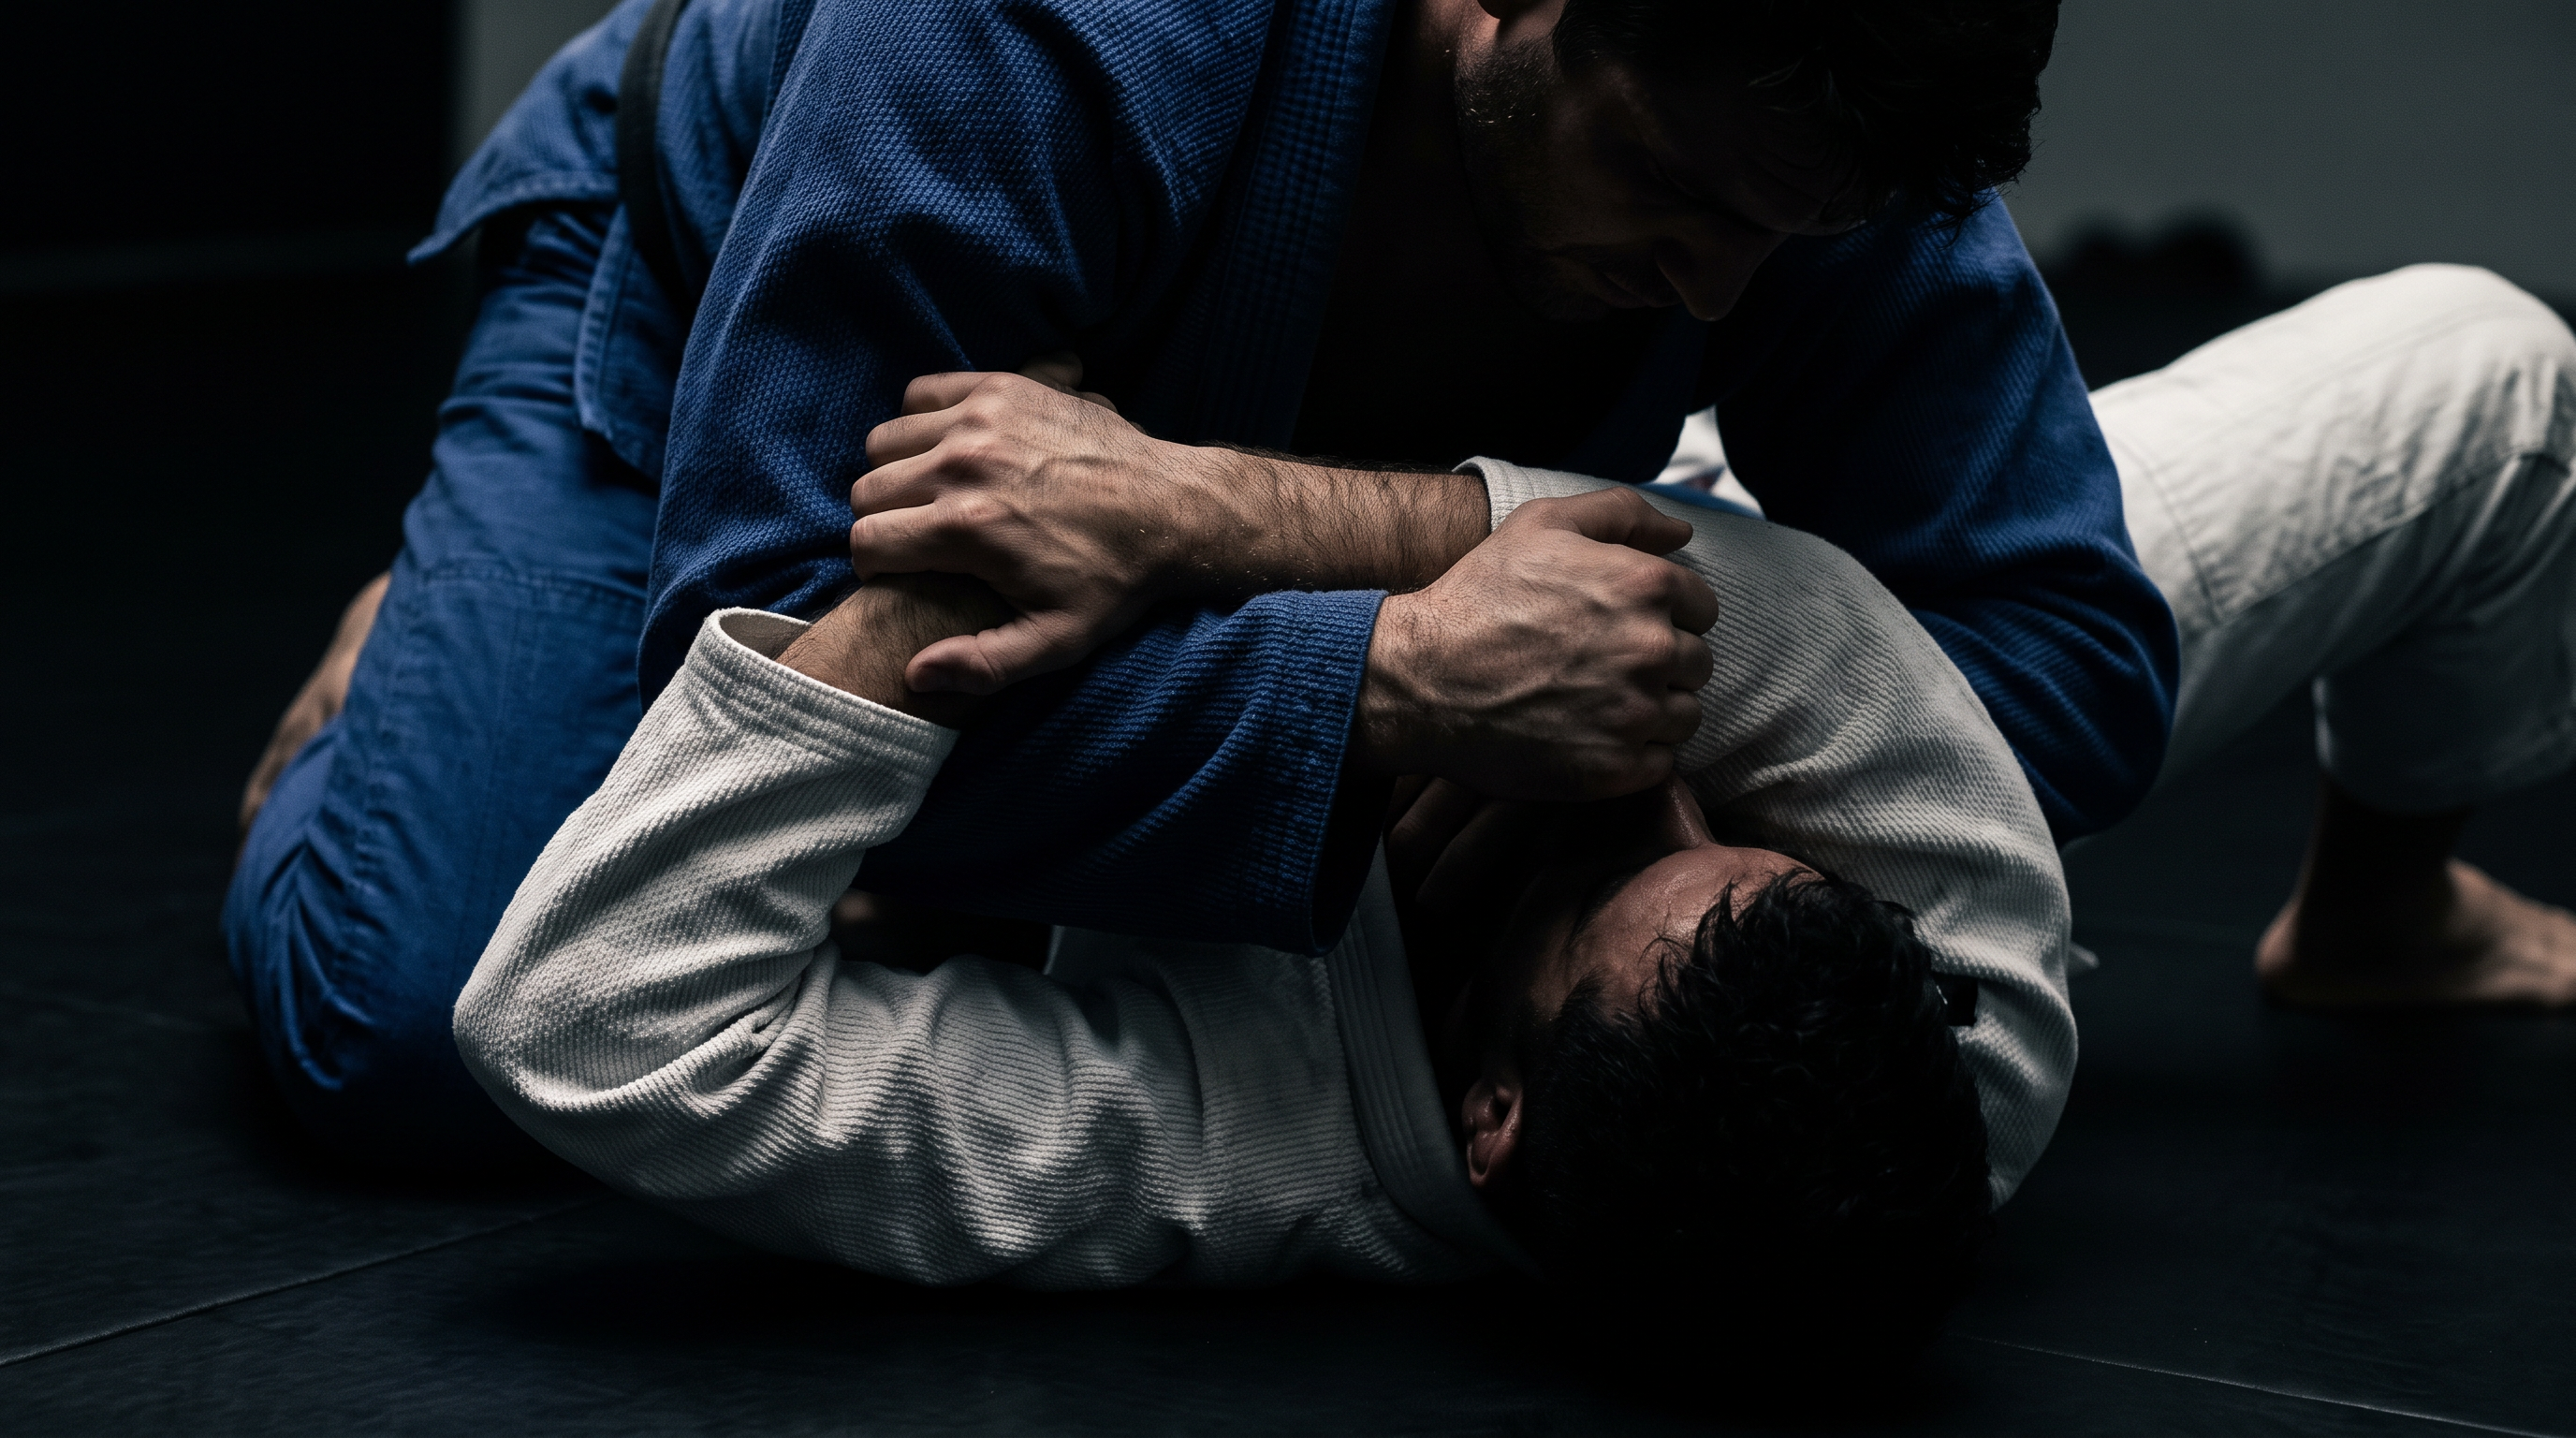
Ezekiel Choke from Mount: A Simple High-Percentage Finish for Beginners
TL;DR. The Ezekiel choke from mount is one of the highest-percentage gi submissions a beginner can add to their game. You slide your top hand deep inside your own opposite sleeve, feed the free hand across your partner's neck, and contract your elbows like closing a book. It works because you are choking with your own gi sleeve — there is no grip for your partner to peel off. Learn the grip build, the posture, the finish, and the two mistakes that cost most beginners the tap.
Key takeaways
- The Ezekiel choke from mount uses your own gi sleeve as the choking implement, so there is no wrist or lapel for your partner to peel off.
- Build the grip first, ideally before your partner starts defending — sleeve-hand deep inside the opposite cuff, four fingers hidden.
- You choke by driving the blade of your free forearm across the far side of the neck, not by squeezing straight down on the throat.
- Chest-to-chest pressure and a low, heavy head kill the frame defense that lets most beginners escape the mount before the finish.
- The most common failures are a shallow sleeve grip, punching the second hand across, and flaring the elbows on the finish.
- Drill the grip build in isolation — if you cannot find the sleeve in one motion, the submission will not exist in live rolling.
- Treat the Ezekiel as a chain, not a one-shot: if the tap does not come, transition to an armbar, s-mount, or back take.
What the Ezekiel choke actually is
The Ezekiel — named after Ezequiel Paraguassú, the judoka who reportedly popularized it in BJJ academies in the 1980s — is a gi choke that uses your own sleeve to create the strangle. Instead of grabbing your partner's lapel or throat directly, you thread one hand deep inside the opposite cuff of your own gi, then use the reinforced sleeve like a rope across the neck.
From the top of mount it is especially strong because:
- Gravity and your weight do most of the work.
- Your partner cannot see the choke arriving — the grip is behind their head.
- There is no gripping wrist or lapel to strip. The "handle" of the choke is inside your own gi.
For a white or blue belt trying to build a reliable submission from top position, it is a much friendlier learn than an arm triangle or a mounted collar choke, because the mechanics are shorter and the grip is harder to defend once it's set.
Remember. You are not choking with your hand. You are choking with the blade of your forearm and the reinforced cuff of your sleeve. If your palm hurts, your grip is wrong.
Why this happens (the mechanics behind the tap)
A choke either cuts blood flow through the carotid arteries or blocks the airway through the trachea. A well-executed Ezekiel from mount is primarily a blood choke: your sleeve presses into one carotid, and the blade of your free forearm presses into the other. When both sides of the neck are compressed, cerebral blood flow drops and the tap comes quickly — often faster than the person being choked expects.
The geometry that makes it work:
- The wedge. Your first arm slides under the head. This lifts the head slightly off the mat and creates a channel that your second arm can slide into.
- The rope. Your sleeve — the fabric between your wrist and elbow — becomes the choking implement. It is longer, wider, and stronger than a bare wrist.
- The closing book. The finish is a symmetrical squeeze: elbows in, chest heavy, head low. Nothing punches, nothing muscles.
Understanding this changes how you drill it. You are not "grabbing a neck." You are building a triangle of frames — sleeve, forearm blade, chest — and then collapsing it.
A simple system: 6 steps to the finish from mount
This is the beginner-friendly version. Once you can hit it consistently in specific sparring, you can add setups from s-mount, from side control, and from bottom guard.
Step 1 — Establish a heavy, controlled mount
Before anything else, own the position. Knees pinched to the ribs (or a light grapevine if your partner is bridging hard). Hips low. Hands off the mat when possible. Head slightly forward so your partner cannot bench-press you off. If you can't hold mount comfortably for 30 seconds against resistance, drill mount retention before you drill this choke.
Step 2 — Feed the sleeve-arm under the head
Pick a side — most people start with the right arm. Slide your right forearm under your partner's head as if you were giving them a pillow. The bicep should be near their ear; the wrist should be past their far shoulder. Keep the elbow tight to their skull. This arm will hold the sleeve grip in Step 4.
Step 3 — Prepare the opposite sleeve
With your free hand (the left), pull your right sleeve down toward your right wrist. You want a full cuff of gi material sitting at your right wrist — this is the fabric you will grip. A rolled-up or short sleeve is the single most common reason beginners cannot hit this choke.
Step 4 — Take the deep sleeve grip
With your right (pillow) hand, reach into your own left sleeve and take a four-finger grip inside the cuff. Your fingers disappear into the fabric; only your knuckles show. This is the grip that will not break. If your fingers are on the outside of the cuff, you have a wrist grip, not an Ezekiel — and your partner will strip it.
Step 5 — Slide the blade of the free forearm across the neck
Now the second arm comes in. Do not punch it across. Slide the pinky-edge of your left forearm low across the front of the neck, palm turned toward you, so the blade of your forearm lands on the far carotid. Your left hand ends up near your right elbow. The two arms now form a closed frame around the neck.
Step 6 — Finish: chest heavy, elbows in, head low
Drop your chest onto their sternum, bring both elbows toward each other (like closing a book on their neck), and lower your forehead toward the mat past their ear. Do not lift up to "crank." Lifting removes weight and opens escapes. The tap comes from the squeeze plus the pressure of your bodyweight driving through the frame.
Remember. The finish is a hug, not a punch. If you are throwing power into the choke, you are lifting your chest off theirs — and giving them the room to escape.
Quick reference: grip check
| Element | Right | Wrong |
|---|---|---|
| Sleeve grip depth | Four fingers hidden inside the cuff | Fingers gripping the outside of the wrist |
| First arm position | Deep under the head, bicep on the ear | Across the throat like a face-crank |
| Second arm path | Slides low across the neck, blade first | Punches across, palm-down |
| Elbows on finish | Squeezed toward each other | Flared out for leverage |
| Head / chest | Head low, chest heavy on sternum | Posted up, weight in the hands |
| Sleeve length | Full cuff pulled to the wrist | Rolled or bunched up the forearm |
Common mistakes (and the fix)
Mistake 1 — Shallow sleeve grip
You reach into the sleeve, feel fabric, and clamp. But your fingers are only halfway in. Under pressure, the grip slides and pops. Fix: before you even feed the second arm, look at your hand. If you can see fingertips, go deeper. Treat the grip like a seatbelt — you don't drive until it clicks.
Mistake 2 — Punching the second hand across
Beginners often throw the second hand across the neck like a jab, palm down. This gives you the flat of the wrist on the throat and misses the carotid. Fix: slide the pinky-edge of your forearm across, low, and let your hand land near your other elbow. Blade of the forearm — always.
Mistake 3 — Losing mount to finish the choke
You try to muscle the squeeze, your chest lifts, your partner bridges, and you get swept before the tap. Fix: the finish and the base are the same movement. Drop your chest as your elbows close. If you feel your knees getting light, stop squeezing and rebase before you try again.
Mistake 4 — Attacking without a setup
You lunge for the sleeve grip while your partner is actively defending. They see it coming, hide their neck, and hand-fight you off. Fix: hunt the grip during transitions — when they turn to escape, when they give up the underhook, when they cover their face after a cross-collar attempt. A great entry drill is to feint a cross-collar choke, then take the Ezekiel when they defend high.
Mistake 5 — No plan B
The Ezekiel is defended, so you keep squeezing harder. You gas out. Fix: if the sleeve grip is broken or the frame is compromised, transition. From mount, the natural exits are s-mount → armbar, mount → back take when they turn, or mount → gift wrap → arm triangle. Chain your attacks; do not marry one.
Drilling progression for a white or blue belt
You don't need mat wizardry to get this choke. You need reps in the right order.
Week 1 — Grip build in isolation. Sitting or standing, practice pulling your sleeve down and taking the deep grip in a single motion. Do it until it's boring. If your grip takes more than one second to build under fatigue, it will not exist in live rolling.
Week 2 — Static mount finish. Get to mount on a compliant partner. Feed the pillow arm, build the grip, slide the second arm, and squeeze slowly. Focus on the frame, not the tap. Reset. Repeat both sides.
Week 3 — Positional sparring. Start in mount with 90 seconds on the clock. Your partner tries to escape; you attempt only the Ezekiel and its natural exits. This teaches you when the grip is available and when to bail to a different attack.
Week 4 — Live rolling. Now you look for it in normal rounds. Do not force it. It will show up more than you expect once your eye is trained for the moment.
Where BJJ Memo fits in
Most people learn the Ezekiel choke, hit it once in the following week, and then quietly forget the details a month later. The grip drifts shallow. The second arm starts punching across again. This isn't a talent problem — it's a review problem.
BJJ Memo is a mobile app that turns any BJJ YouTube video into a structured technique card — steps, key details, and tappable timestamps of the important visual moments — and files it into a personal, searchable library. So the next time you watch a video on the Ezekiel from mount, you can save it as a card, add your own note ("deep grip, blade of forearm, hug not punch"), and review it the morning before class. That's it. It doesn't replace your coach or your reps — it just makes sure the details you already learned are still in your head when you need them.
Frequently asked questions
Is the Ezekiel choke legal at all belt levels?
Yes, in the vast majority of IBJJF and gi tournaments the Ezekiel from mount is legal at every adult belt level. Rules vary by federation, kids' divisions, and no-gi rulesets, so check the specific ruleset for your event before competing.
Can you hit the Ezekiel choke in no-gi?
A no-gi variation exists using a bare-arm figure-four grip, but it is significantly harder to finish and generally lower percentage than the gi version. If you train primarily no-gi, treat the Ezekiel as a gi-focused tool and prioritize other mount submissions like the arm triangle or mounted guillotine.
Does the Ezekiel choke work on bigger, stronger training partners?
Yes — that is part of its appeal for beginners. Because the choke is a blood strangle applied with your sleeve and forearm, strength and size matter less than grip depth, frame, and posture. A technical Ezekiel finishes a larger partner far more reliably than a muscled-up wrist choke.
How do I stop my partner from tucking their chin?
Chin-tuck is the number-one defense. Two answers: build the sleeve grip before they realize the choke is coming, and use the pillow arm to lift the head slightly so the chin cannot fully seal against the chest. If the chin is fully welded down and both arms are defending, transition to an armbar or back take instead of grinding for a choke that isn't there.
Is this choke safe to drill?
Blood chokes are safe when drilled with a cooperative partner and tapped early. Never crank, never hold past the tap, and never practice on an unwilling or untrained person off the mat. When in doubt, ask a qualified coach to watch a rep.
How long before I can hit this in live rolling?
Most committed beginners can land it on a same-level training partner within a few weeks of focused drilling, provided they build the grip in isolation first and attack it off transitions rather than lunging cold. There is no fixed timeline — mat time and reps decide.
Wrap up and next steps
The Ezekiel choke from mount is the kind of technique that rewards small, boring reps: the grip, the pillow arm, the blade across the neck, the closing book. It is not flashy, but it is one of the most reliable gi finishes a beginner can own — because it removes the biggest weakness of hand chokes, which is a grip your partner can peel off.
Watch a video breakdown from a coach you trust. Drill the grip until it's automatic. Then hunt it in positional sparring before you expect it in live rolls.
And for real feedback and safety, train the technique at a legit academy with a qualified coach — BJJ Memo helps you remember and revise, it doesn't replace mat time. Next time you watch an instructional on the Ezekiel — or any technique — save it as a card in BJJ Memo so it's there before your next roll.
Last updated 2026-08-21.