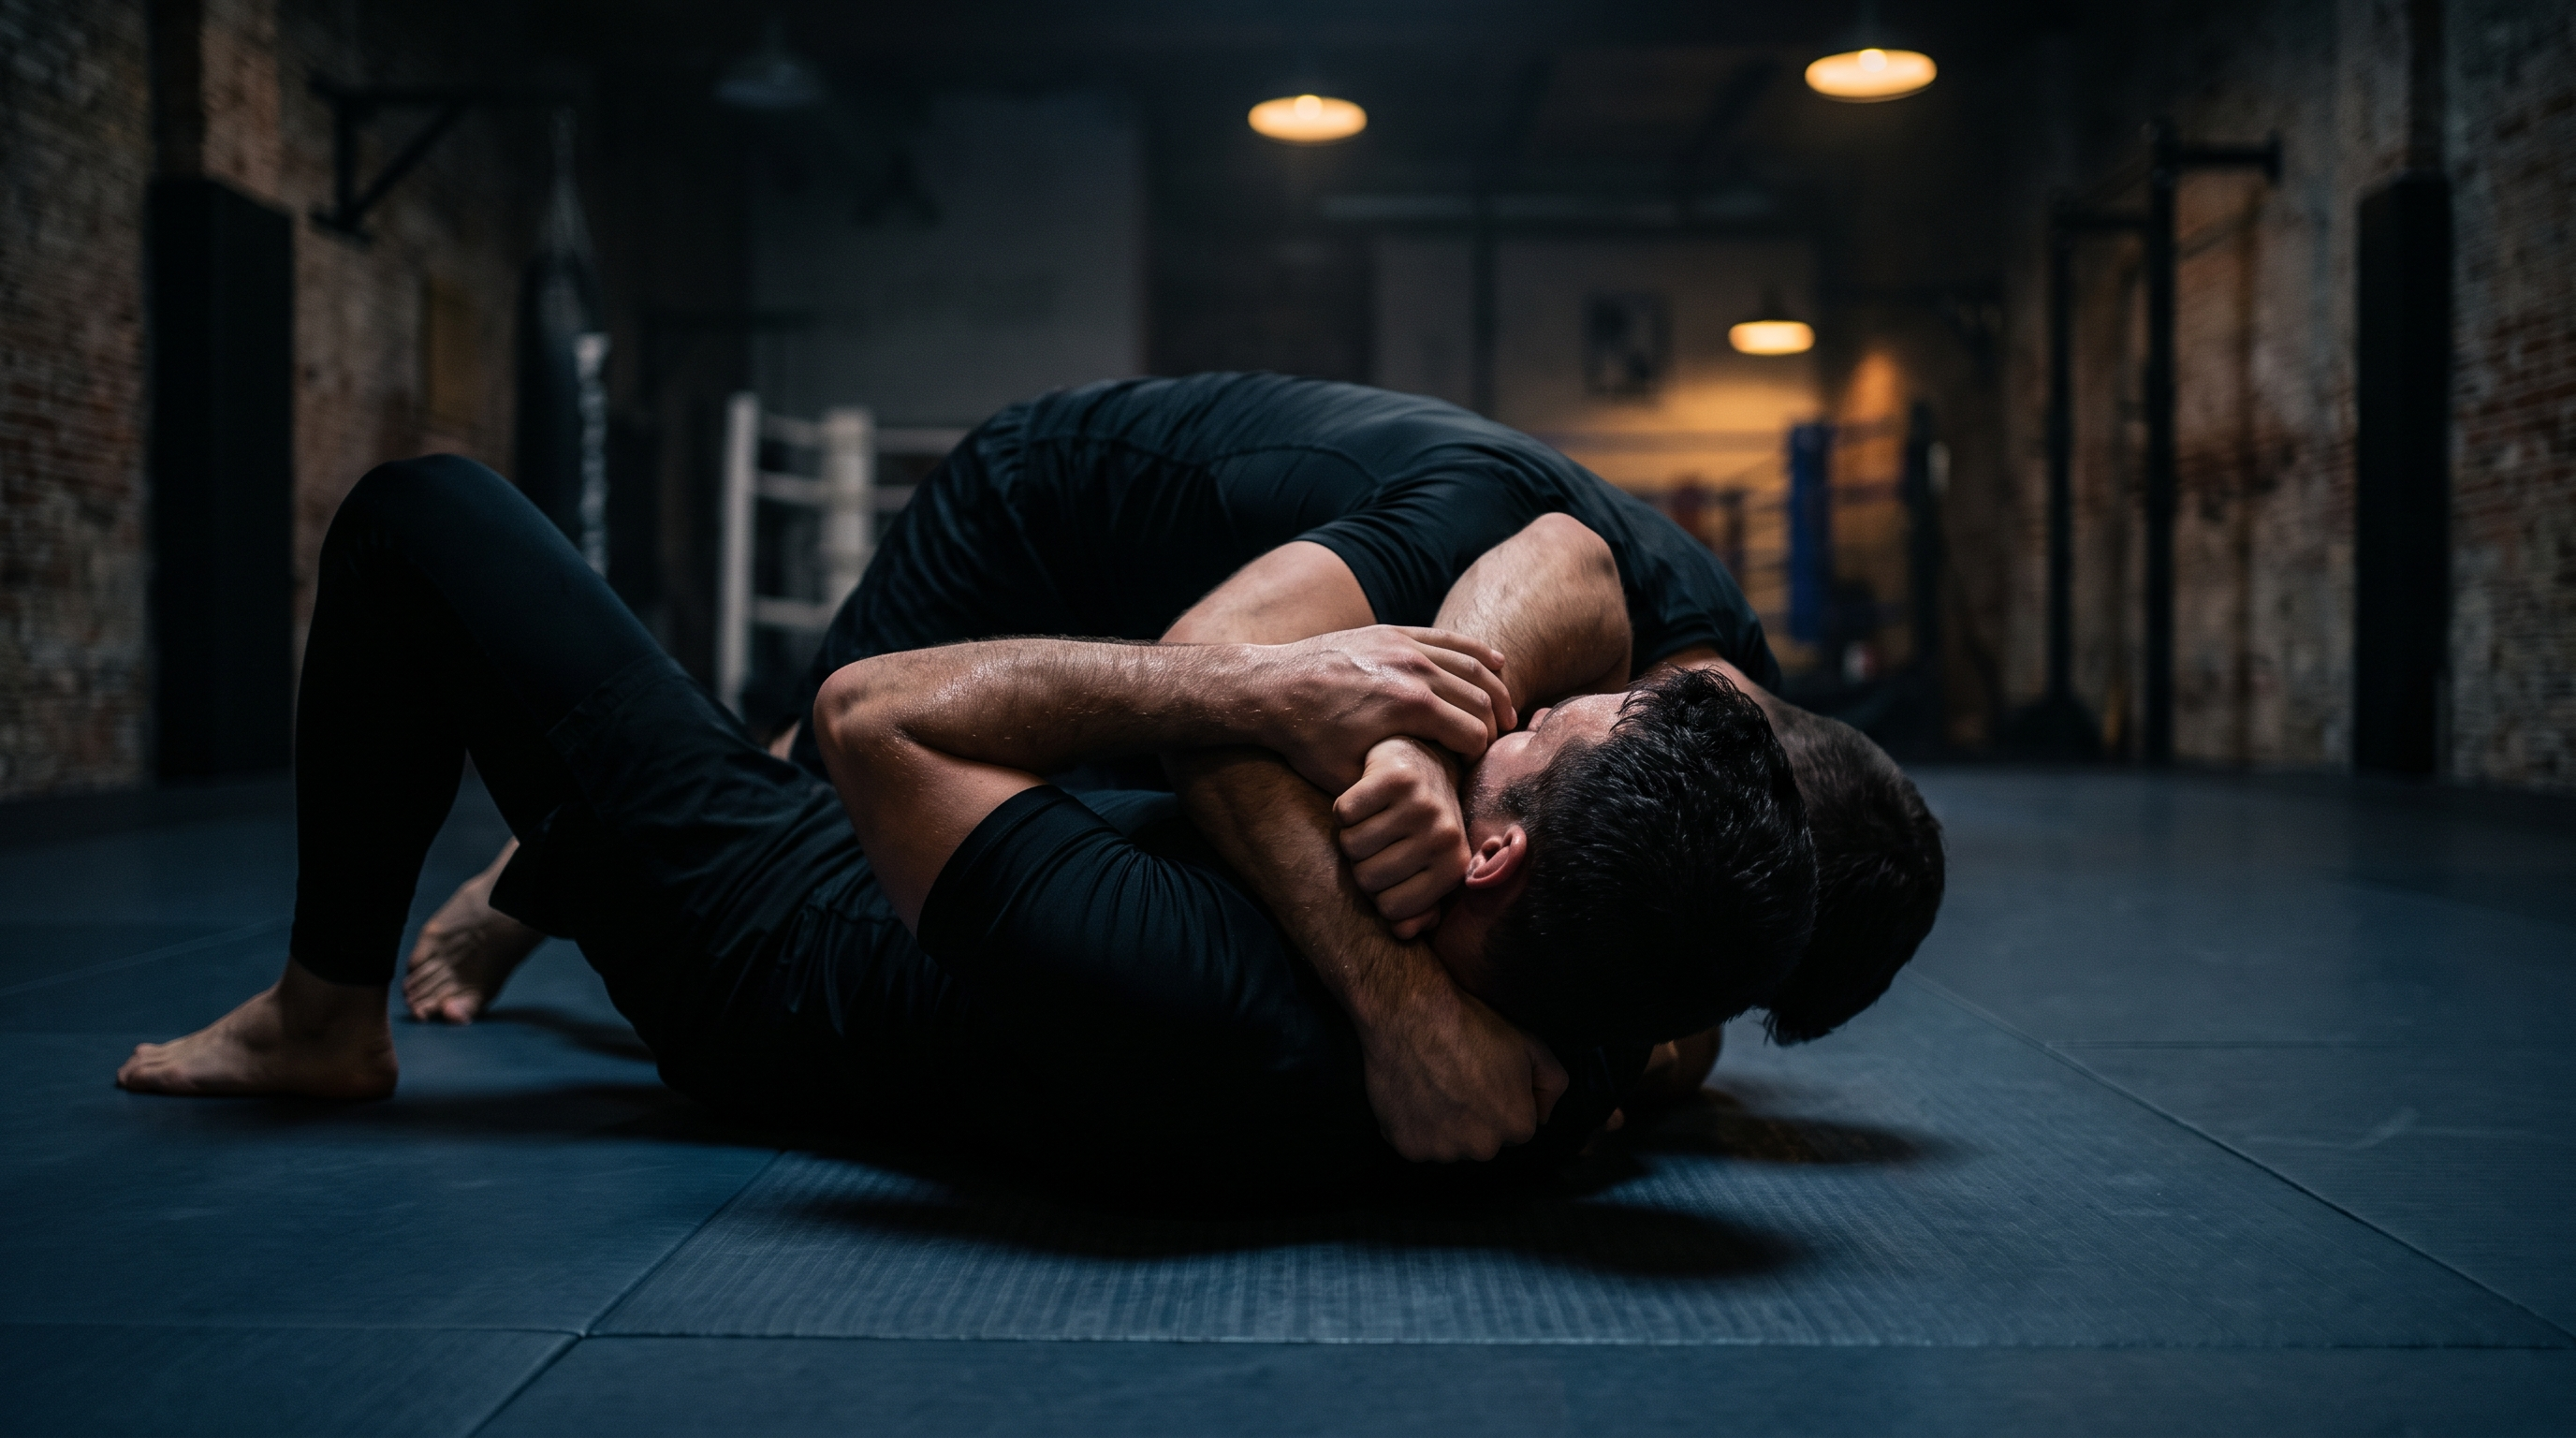
Guillotine Choke from Guard: How to Set the Grip, Angle, and Finish Without Losing Position
TL;DR. The guillotine choke from guard fails for one of three reasons: a loose grip, a flat angle, or a squeeze that pulls up instead of into the throat. Fix the grip first (thumb down, wrist bone under the chin), then shift your hips off-center to create the angle, then finish with chest and lats — not arms. Use closed guard to control the stack, or switch to a high-elbow variant if your training partner posts and drives forward. Drill the details more than the reps and the tap comes on its own.
The guillotine is one of the first submissions almost every grappler tries — and one of the first they get frustrated by. You wrap the neck, you squeeze, nothing happens. Or worse: you commit to the choke, get stacked on your shoulders, and end up defending side control instead. This guide walks through a simple, reliable system for hitting the guillotine choke from guard: how to build the grip, how to get the angle that actually finishes the choke, and how to bail out cleanly when the setup isn't there. It's written for white and blue belts who want fewer mystery escapes, but the details apply at every level. We'll keep it practical and safe — none of the tap-or-injury lines you sometimes see online.
Key takeaways
- The guillotine works because the wrist bone (radius) cuts into the throat — not because the arm is 'tight'.
- You need an angle: staying square with your training partner lets them stack, posture, and pop the head out.
- Close the guard only when the head is already trapped and your grip is set; closing early gives away the finish.
- The high-elbow (Marcelotine) variant works best when the head is above the shoulder line and the partner is driving forward.
- A failed guillotine is not wasted — it opens sweeps, back takes, and armbar transitions if you release cleanly.
- Squeeze with chest expansion and lats, keeping elbows in; pulling straight up with the arms burns the grip in seconds.
- Drill the grip and angle in isolation before rolling — most 'guillotine problems' are grip problems in disguise.
Why this happens: the three reasons your guillotine keeps failing
Before the steps, it's worth understanding why the guillotine feels so easy to set up and so hard to finish. Almost every failed guillotine from guard comes down to a mix of the same three problems, and once you can name them mid-roll, fixing them becomes much faster.
1. The grip is loose. Most beginners chase the neck with the elbow — wrapping the arm around the head like a headlock. That gives the training partner a soft forearm on the throat and a giant gap where the hand meets the wrist. A real guillotine puts the thumb down, palm facing you, and drives the radius bone (the hard edge of your wrist) into the throat. If your palm is up, you're doing a headlock, not a choke.
2. The angle is flat. If you and your training partner are chest-to-chest, square to each other, they can drive forward, stack you, and use their shoulder to peel your grip off. The choke needs an off-center angle — your hips shifted to one side so your choking arm is pulling across their neck, not just up into it.
3. The squeeze pulls up, not in. Under fatigue, the instinct is to yank the neck with the biceps. That burns out your arms in seconds and rarely finishes. The finish is a chest expansion: elbows tight, lats engaged, ribs pulling apart, with the wrist bone cutting into the throat.
Get those three right and the guillotine stops being lucky.
A simple system: the guillotine from guard in seven steps
This is the version to drill first. It assumes your training partner has shot in on your legs or dropped their head as they passed — a common moment where the neck is available. Keep it slow the first dozen reps.
Frame and read the head. When the head comes forward, put a hand on the near-side shoulder or the top of the head. You want a beat to check: which side is the head on, and where is your partner's posting hand? The choke goes on the side the head is on.
Build the grip. Slide the choking arm over the back of the neck. Aim your armpit toward the crown of their head so the arm sits deep, not shallow. Cup your fingers under their chin, then rotate your thumb down so the wrist bone drops into the front of the throat. Grab the choking wrist with your free hand — either a palm-to-palm gable grip or a hand-on-wrist grip. Both work; palm-to-palm tends to be easier under fatigue for beginners.
Pull elbow to hip. Before you do anything else, drag your choking elbow down toward your own hip on the same side. This shortens the space around the neck and forces the wrist bone into the throat. If the elbow is flared out to the side, the choke leaks.
Shift your hips off-center. Push off the mat with your feet and slide your hips a few inches away from the choking side. If the head is on the right, your hips slide to the left. You should now be angled, not square. This is the single most important step and the one that gets skipped the most.
Close the guard (only now). Cross your ankles behind your partner's back and pull your knees toward your own chest. Closing the guard here does two things: it stops the stack, and it gives you a platform to pull them forward instead of them driving into you. If you close the guard before the head is trapped, they'll posture up and clear the arm.
Finish with chest, not arms. Take a breath in, expand your chest, and pull your elbows tight to your ribs. Imagine trying to touch your own shoulder blades together behind your back. Your wrist bone drives up and in; their throat has nowhere to go. Hold the pressure — a real guillotine often taps on the second or third second, not instantly.
Bail out cleanly if it's not there. If your partner postures up and starts to stack, do not marry the choke. Release the grip, keep the frame on their shoulder or biceps, and re-guard. A stubborn guillotine is how beginners end up getting passed.
Grip variations at a glance
| Variation | When it fits | Key detail | Watch out for |
|---|---|---|---|
| Standard (palm-to-palm) | Head is low, partner posturing down | Thumb down, wrist bone on throat | Elbow flaring out to the side |
| High-elbow (Marcelotine) | Partner drives forward, head above shoulder line | Choking elbow points at the ceiling | Rolling off your back too early |
| Arm-in guillotine | Their arm is trapped under yours | Squeeze compresses neck and shoulder | Slower to finish, easy to hold too long |
| One-handed ("power guillotine") | Grip breaks mid-scramble | Wrist bone still does the work | Almost never finishes — use it to reset |
Remember. The guillotine is a wrist bone choke, not an arm choke. If your biceps are burning, the mechanics are off — reset the grip.
Common mistakes (and quick fixes)
These are the mistakes I see over and over in open mat, from white belts to purple belts who never cleaned up the details.
- Palm-up grip. You're doing a headlock. Rotate the thumb down so the radius bone lands on the throat.
- Chasing the choke while getting stacked. If your hips are square and your partner is walking up your body, release. You can't finish upside down against a strong posture, and the risk to your neck goes up.
- Closing the guard too early. The head has to be trapped first. Closing the guard on empty air is how the arm gets peeled off.
- No angle. Square hips = stacked shoulders = escape. Slide off-center before you squeeze.
- Pulling up with the biceps. Squeeze with the chest and lats, elbows glued to your ribs.
- Holding a dead guillotine forever. If it's not finishing, use it as a threat. Sweep to mount, take the back, or transition to an armbar. A live threat is worth more than a dead choke.
- Ignoring your own neck. In no-gi especially, if you get too greedy and roll under, you can end up defending a can-opener or getting stacked hard. Bail early and often.
Remember. A guillotine that doesn't finish should turn into a sweep or a back take — not a nap in a stack.
Drilling plan for the next four weeks
You'll get more out of ten focused minutes than an hour of random rolling. Try this simple structure:
- Week 1: grip only. Partner kneels between your legs, drops their head, you build the grip 30 times per side. No squeeze, no finish. Just the shape.
- Week 2: grip + angle. Same setup, but now shift your hips off-center each rep. Freeze at the angle and check: is your elbow at your hip? Is your armpit pointing at their crown?
- Week 3: full finish at 30% intensity. Your partner gives real posture, you find grip, angle, close guard, and squeeze. Tap comes light and slow.
- Week 4: live drilling from a shot or a pass attempt. Start standing or in half guard and let them try to pass. Hunt the choke when it's there; bail when it's not.
Record which detail you missed each session. Over four weeks, you'll see the same one or two mistakes repeat — and those are the ones to fix.
Where BJJ Memo fits in
Watching a Lachlan Giles or Gordon Ryan breakdown of the guillotine and then forgetting the three details you needed by Tuesday is one of the most common learning problems in BJJ. BJJ Memo exists to solve exactly that: paste any BJJ YouTube URL into the app and it turns the video into a structured technique card — steps, key details, tappable timestamps of the visual moments — filed into your personal library. Before your next class, you open the card, revise the grip and angle in a minute, and walk onto the mat with the details still fresh. It doesn't replace your coach or your reps; it just makes sure the study you already do actually sticks. If you want to see how we think about learning grappling from video, our notes on studying instructionals effectively and building a personal BJJ game are a good next read.
Frequently asked questions
Is the guillotine choke from guard safe to drill as a beginner?
Yes, when you tap early and your training partner respects the tap. The guillotine puts pressure on the throat and neck, so drill slowly, never crank suddenly, and stop the moment your partner signals. If you're unsure about a detail, ask a qualified coach at your academy — video is a great supplement, but mat feedback matters most.
Should I use closed guard, open guard, or half guard for the guillotine?
Closed guard is the most beginner-friendly because it stops the stack and gives you a platform to pull with. Open guard and half guard both work, but they require more experience to prevent the pass. Learn it in closed guard first, then explore variations.
Why does my guillotine keep slipping off?
Almost always a grip issue. Check three things: thumb down (not up), wrist bone on the throat (not the forearm), and choking elbow pulled down to your own hip. If any of those are missing, the head pops out under real resistance.
What's the difference between a standard guillotine and a high-elbow guillotine?
In the standard version, the choking elbow points down and you finish by pulling elbow-to-hip. In the high-elbow (sometimes called Marcelotine), the elbow points up toward the ceiling and the choke uses the biceps and shoulder to compress the neck against your own chest. High-elbow tends to work better when the training partner is driving hard into you with their head up.
When should I let go of a guillotine?
As soon as it stops threatening. If your partner has posture, is walking up your body, or your hips are getting flattened, release and re-guard. Holding a failed guillotine is one of the fastest ways for beginners to lose position or their back.
Can I finish a guillotine without closing the guard?
Yes — many high-level grapplers finish standing, on top, or from open guard. But for someone still learning the choke, closed guard removes the biggest problem (the stack) and lets you focus on grip and angle without extra variables.
Take it to the mat
The guillotine rewards patience. Fix the grip, find the angle, finish with the chest — in that order — and you'll start tapping training partners who used to escape every time. When you don't get it, treat the failure as information: which of the three problems was it? Grip, angle, or squeeze? Write it down or save the moment somewhere you'll actually revisit before your next session.
Next time you watch a guillotine breakdown on YouTube, save it as a technique card in BJJ Memo so the grip details, angle, and finish are one tap away before your next roll. Available on iOS and Android.
For real feedback and safety, train the technique at a legit academy with a qualified coach — BJJ Memo helps you remember and revise, it doesn't replace mat time.
Last updated 2026-09-15.