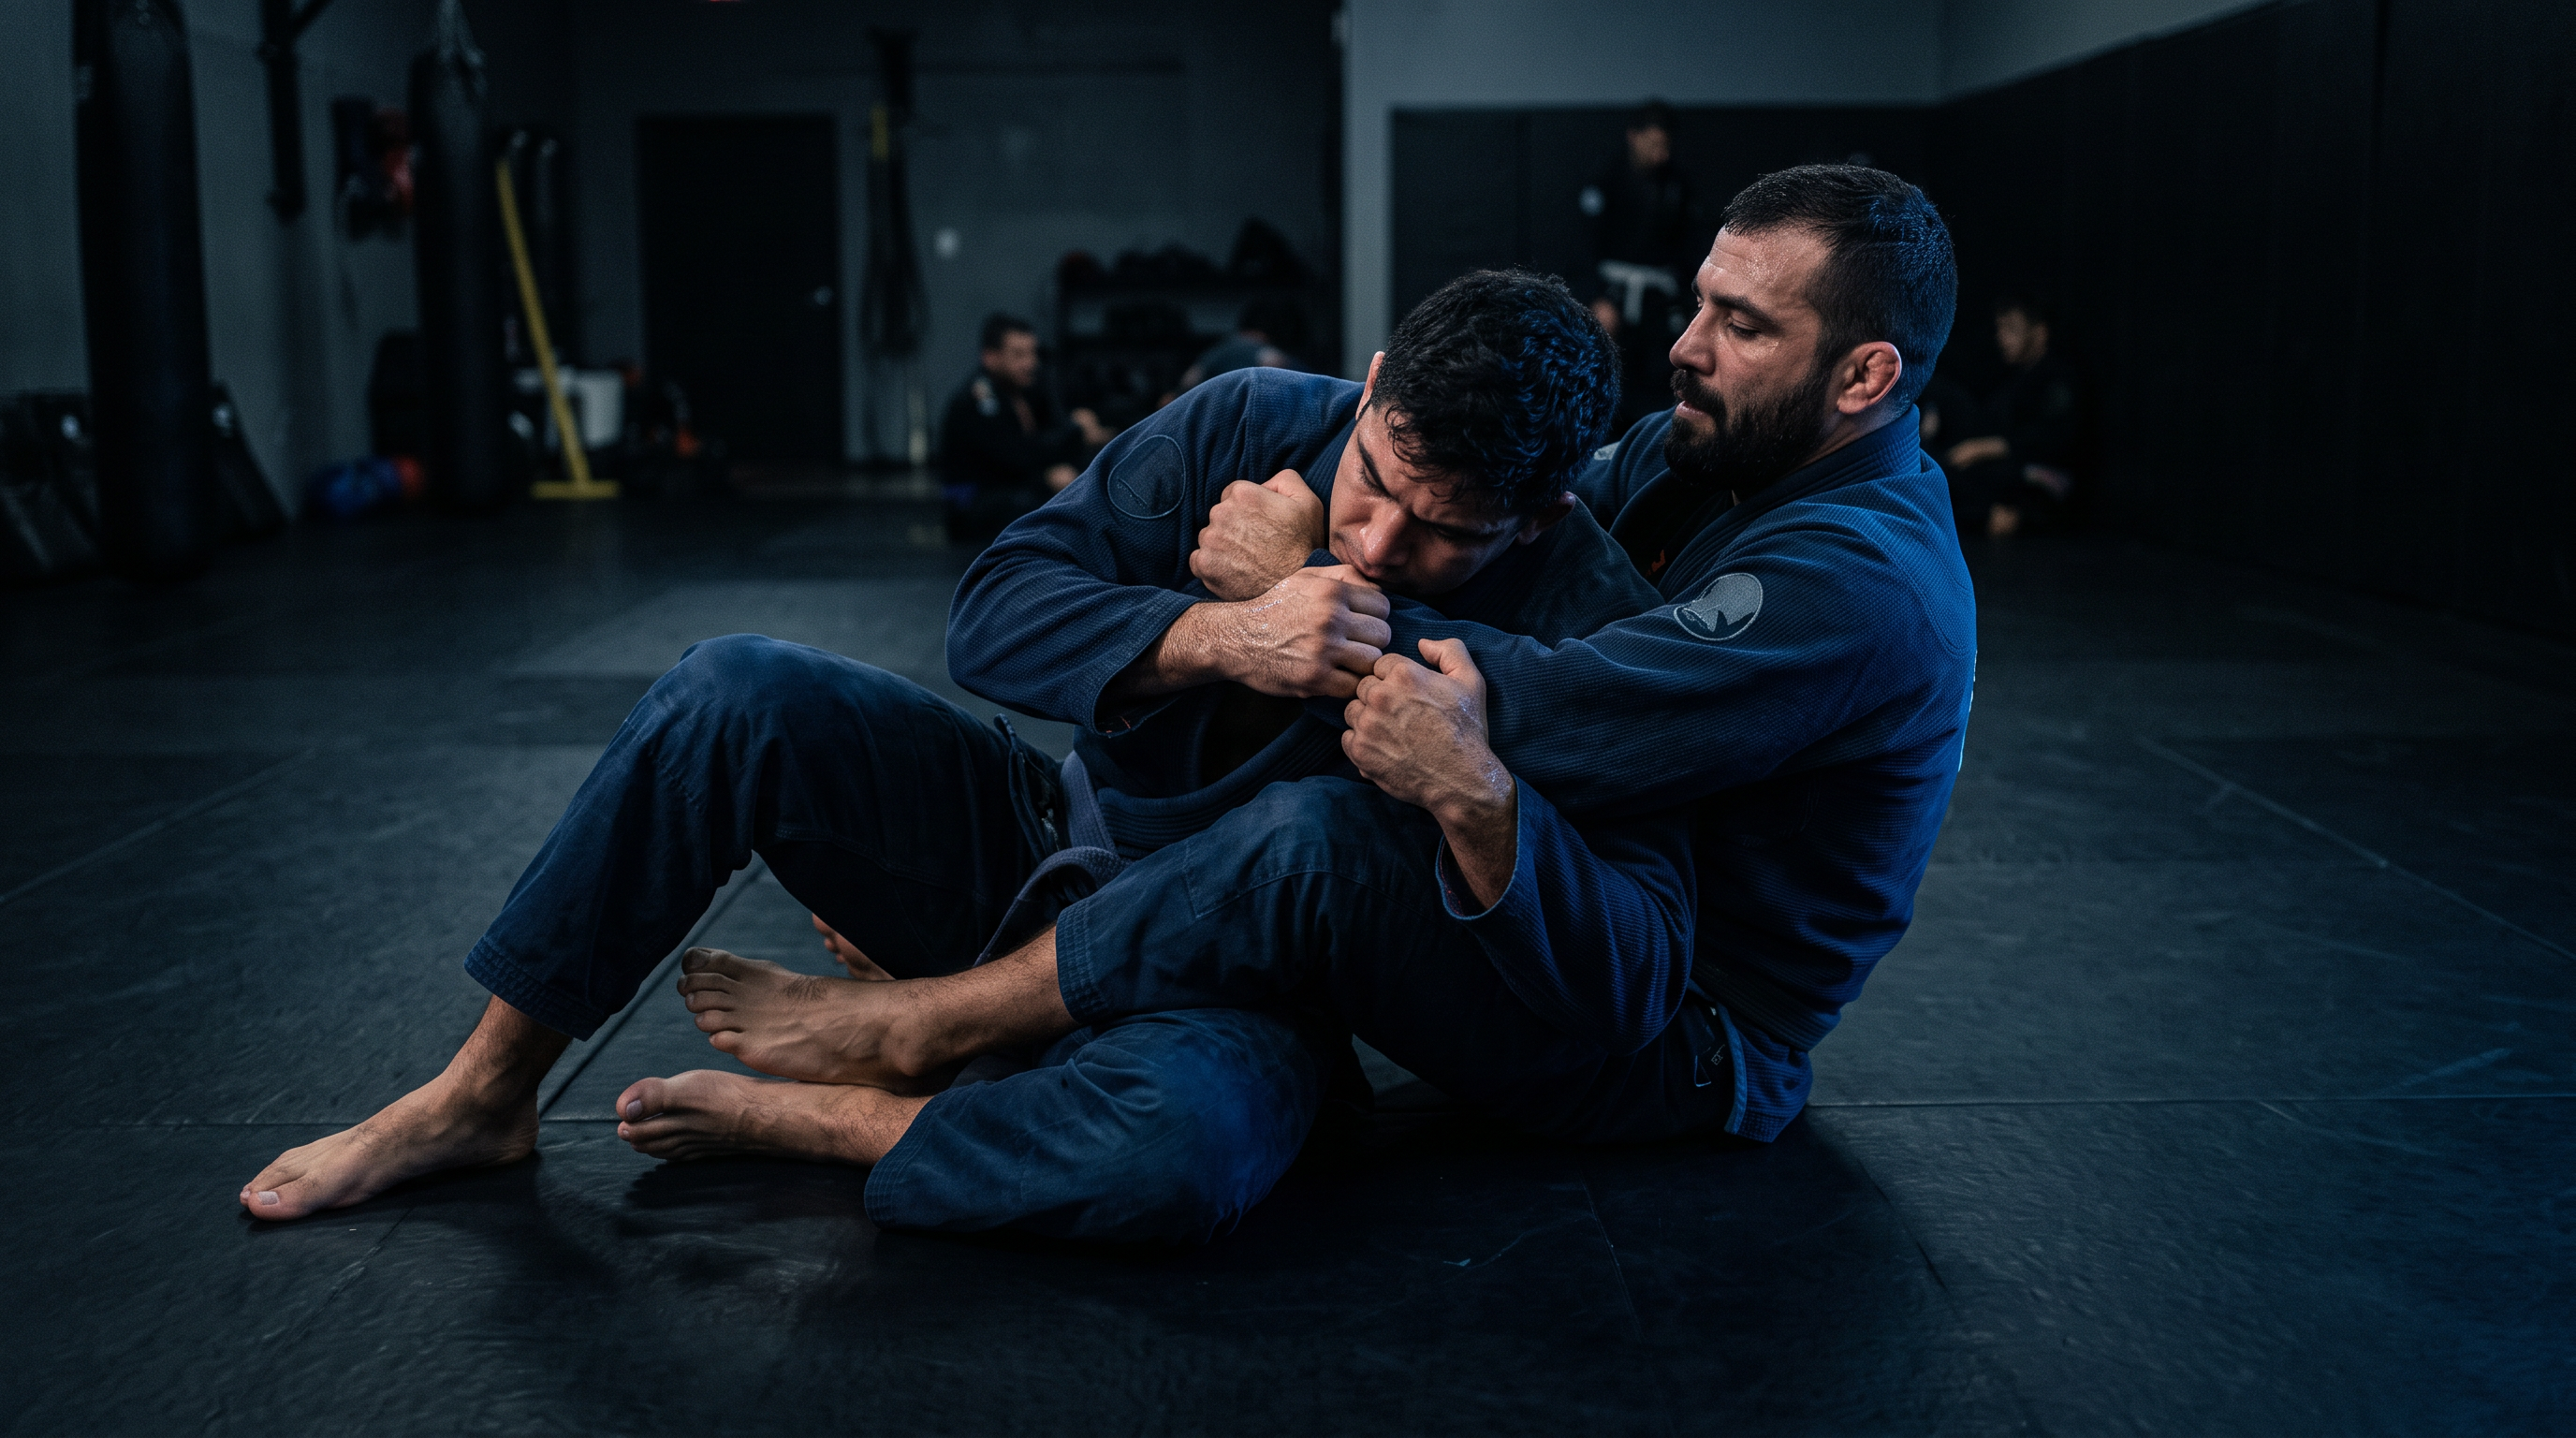
How to Escape Back Control in BJJ: The Hand-Fight Framework for White Belts
TL;DR. Back control loses on autopilot — you have to fight the choking hand, protect your neck, kill the top hook, and land on your side or on top. Prioritize survival before escape: two hands on the choking arm, chin tucked, elbows glued. From there, work a controlled slide toward the mat, shrimp out to half guard or turn into the person. Drill the sequence in the order it happens in a real roll: hand-fight, hip-down, hook-kill, turn-in — every session, even for two minutes.
If you're a white belt, back control is probably the position you tap from the most. That's not a talent problem — it's a system problem. Most beginners try to escape by ripping at hooks, bench-pressing forearms, or bridging like they're in mount. None of that works, because back control is a position where the attacker owns your neck and your hips simultaneously. You can't out-strength that; you have to out-sequence it.
This guide gives you a repeatable, five-step framework for escaping the back based on the way rear mount actually plays out: hand fight first, get your hips down, kill the top hook, turn in, land in a safer position. Learn it in this order, drill it in this order, and you'll stop tapping to chokes you never saw coming.
Why this happens: back control is engineered to submit you
Back control (also called rear mount) is worth the most points in IBJJF scoring for a reason. When someone takes your back cleanly, they have:
- Both hooks in — their legs are inside your thighs, controlling your hips and preventing you from turning.
- A seatbelt grip — one arm over your shoulder, one under your armpit, hands joined. This locks your torso to their chest.
- The choking arm on your neck side — the over-the-shoulder arm is the one that will slide under your chin for the rear naked choke.
Because they own your hips and your neck, every instinctive reaction plays into the finish. Bridging exposes your neck. Rolling forward feeds the choke. Sitting up straight lets them climb into a body triangle. To escape, you need a different mental model: survive, then escape — in that order.
Remember. In back control, panic is the choke's best friend. Your first job is not to escape. Your first job is to make sure the choking arm cannot get under your chin.
A simple system: the 5-step back escape
Drill these five steps in order. Each one buys you the conditions for the next. If you skip step 1, step 4 will get you choked.
1. Two hands on the choking arm
The over-the-shoulder arm is the one that finishes you. Both of your hands grip that wrist and forearm — think "two-on-one" on the choking hand. Pull it down and across your chest, keeping it away from your neck.
- Your grip is on the wrist and mid-forearm, not the elbow.
- Pull the hand away from your neck, not toward your belly.
- Keep constant pressure. If you let go with one hand to swat a hook, the choke slides in.
2. Chin down, shoulders shrugged
A tucked chin closes the choke channel. Press your chin toward the shoulder on the same side as the choking arm — this is called "chin to shoulder" defense. Simultaneously shrug both shoulders up toward your ears so there's no gap for a forearm to slide in.
3. Get your hips down and slide toward the choking-arm side
Most beginners try to escape upward — sitting tall so they can spin. Do the opposite: slide your hips down toward the mat and lean your shoulders toward the choking-arm side (the same side you're hand-fighting).
When your shoulder blade touches the mat on that side, you've killed a lot of the seatbelt's control. Your opponent now has to reset their grip or lose it.
4. Kill the top hook
With your shoulder on the mat, the top hook (the leg on the same side as the choking arm) is now easy to see and expose. Use your same-side elbow and hand to peel and pin that hook to the mat, or step over it with your bottom leg.
Do not try to kill both hooks at once. Deal with the top hook first. Once it's out, the bottom hook has nothing to anchor against and usually falls off during the turn.
5. Turn in and land in half guard or on top
Once the top hook is dead and your shoulder is on the mat, turn your chest into your opponent (not away from them). Turning away exposes your back a second time; turning in puts you chest-to-chest, usually landing you in their half guard or coming up on top if they don't recompose.
Keep the two-hand grip on the choking arm all the way through the turn. The moment you free your neck is the moment you can start playing offense.
Quick reference: the 5-step escape
| Step | Goal | Common failure |
|---|---|---|
| 1. Two-hand grip on choking arm | Neutralize the finish | Only using one hand "to peel a hook" |
| 2. Chin to shoulder, shrug up | Close the choke channel | Turning chin away, exposing throat |
| 3. Hips down, shoulder to mat | Break seatbelt control | Sitting tall to "stand up" |
| 4. Kill the top hook | Free your hips to turn | Attacking bottom hook first |
| 5. Turn into the opponent | Land in half guard or top | Turning away and re-giving the back |
Common mistakes that keep you stuck
Most white belts already know they're supposed to "defend the choke." The reason it still doesn't work is a handful of specific errors. Fix these and your tap rate from the back drops fast.
- Ripping at the hooks first. Hooks are legs — you can't out-muscle legs with hands. If the choking arm is still live, hook-ripping is just a distraction while you get choked.
- Bridging like it's mount. Bridging arches your neck backward and opens the throat. In back mount, you go down, not up.
- Turning away from the choking side. Feels safer, actually gives up your other side and often results in a body triangle.
- Letting one hand off the choking arm. The instant you're one-on-one instead of two-on-one, a good opponent slides the hand under your jaw.
- Holding your breath. You'll gas out in 20 seconds. Breathe in through the nose, out through the mouth, slow and deliberate.
- Trying to "win" the position. Your goal is to leave it. If you end up in half guard bottom, that's a win. If you come up on top, huge win. Anything is better than back mount with hooks in.
Remember. The back escape is not one big movement — it's four small ones. If you try to do it all at once, you will get choked. If you do them in order, you almost always escape.
How BJJ Memo fits into learning this
The reason most white belts don't get better at escaping the back isn't a lack of technique on YouTube — it's a lack of a system to remember and revise those techniques between classes. You watch a great breakdown on Sunday, drill something similar on Tuesday, and by Thursday's live roll the sequence is gone.
BJJ Memo is built for this exact gap. Paste the URL of a back-escape instructional (Danaher, Lachlan Giles, your favorite black belt on YouTube), and it turns the video into a structured technique card — the steps, the key details, and tappable timestamps for the moments that actually matter. The card lands in your personal library, filed under "back escapes," so you can pull it up on your phone before class and revise the five steps above in 60 seconds. For the underlying learning system, see our guide on how to remember BJJ techniques and the best way to study instructionals.
BJJ Memo won't teach you jiu-jitsu — your coach and your mat time do that. It just makes sure the details you already learned don't fall out of your head before the next roll.
Frequently asked questions
What's the single most important part of escaping back control?
Controlling the choking arm with both of your hands before you do anything else. If your neck is safe, you have time. If your neck isn't safe, no amount of hip movement will save you.
Should I try to escape as soon as they take my back?
No. Your first job is survival — grips on the choking arm, chin tucked, shoulders shrugged. Only start working the escape once your neck is secure and your breathing is under control. Rushing the escape is how the choke lands.
Which side should I turn to when escaping?
Slide down and turn toward the choking-arm side, then turn your chest into your opponent. Turning away from them exposes your back again and is one of the most common white-belt errors.
Do I attack the hooks or the seatbelt first?
Neither. Attack the choking arm first, get your hips down, and let the position break the seatbelt for you. Then kill the top hook. Trying to attack hooks while the choke is live is a losing trade.
How long should I drill this before it works in rolling?
Long enough that the sequence happens without thinking. A useful benchmark is a few focused minutes of positional sparring from the back at the end of most training sessions for several weeks. Consistency matters more than volume.
Is it okay to tap early from back control while I'm learning?
Yes. Tapping to a choke you can't defend yet is smart training — it protects your brain and your training week. As your defense improves, you'll tap later and eventually escape. Never hold out on a rear naked choke to "prove" something.
Train it, then remember it
Back escapes reward two things: a clear system, and enough repetitions that you don't have to think about it under pressure. This framework gives you the system — hand-fight, hips down, kill the hook, turn in. Your job now is to drill it in class, get feedback from your coach on the small details, and revise it before your next session so nothing falls out.
Save this article and any back-defense video you like into BJJ Memo, and open the card for 60 seconds before class this week. Small, consistent reviews are what turn a technique you've seen into a technique you actually have.
Teacher disclaimer. This article is a learning aid, not coaching. For real feedback, timing, and safety corrections, drill this at a legit academy with a qualified black belt. BJJ Memo helps you remember and revise what you learn — it doesn't replace mat time.
Last updated 2026-08-17.