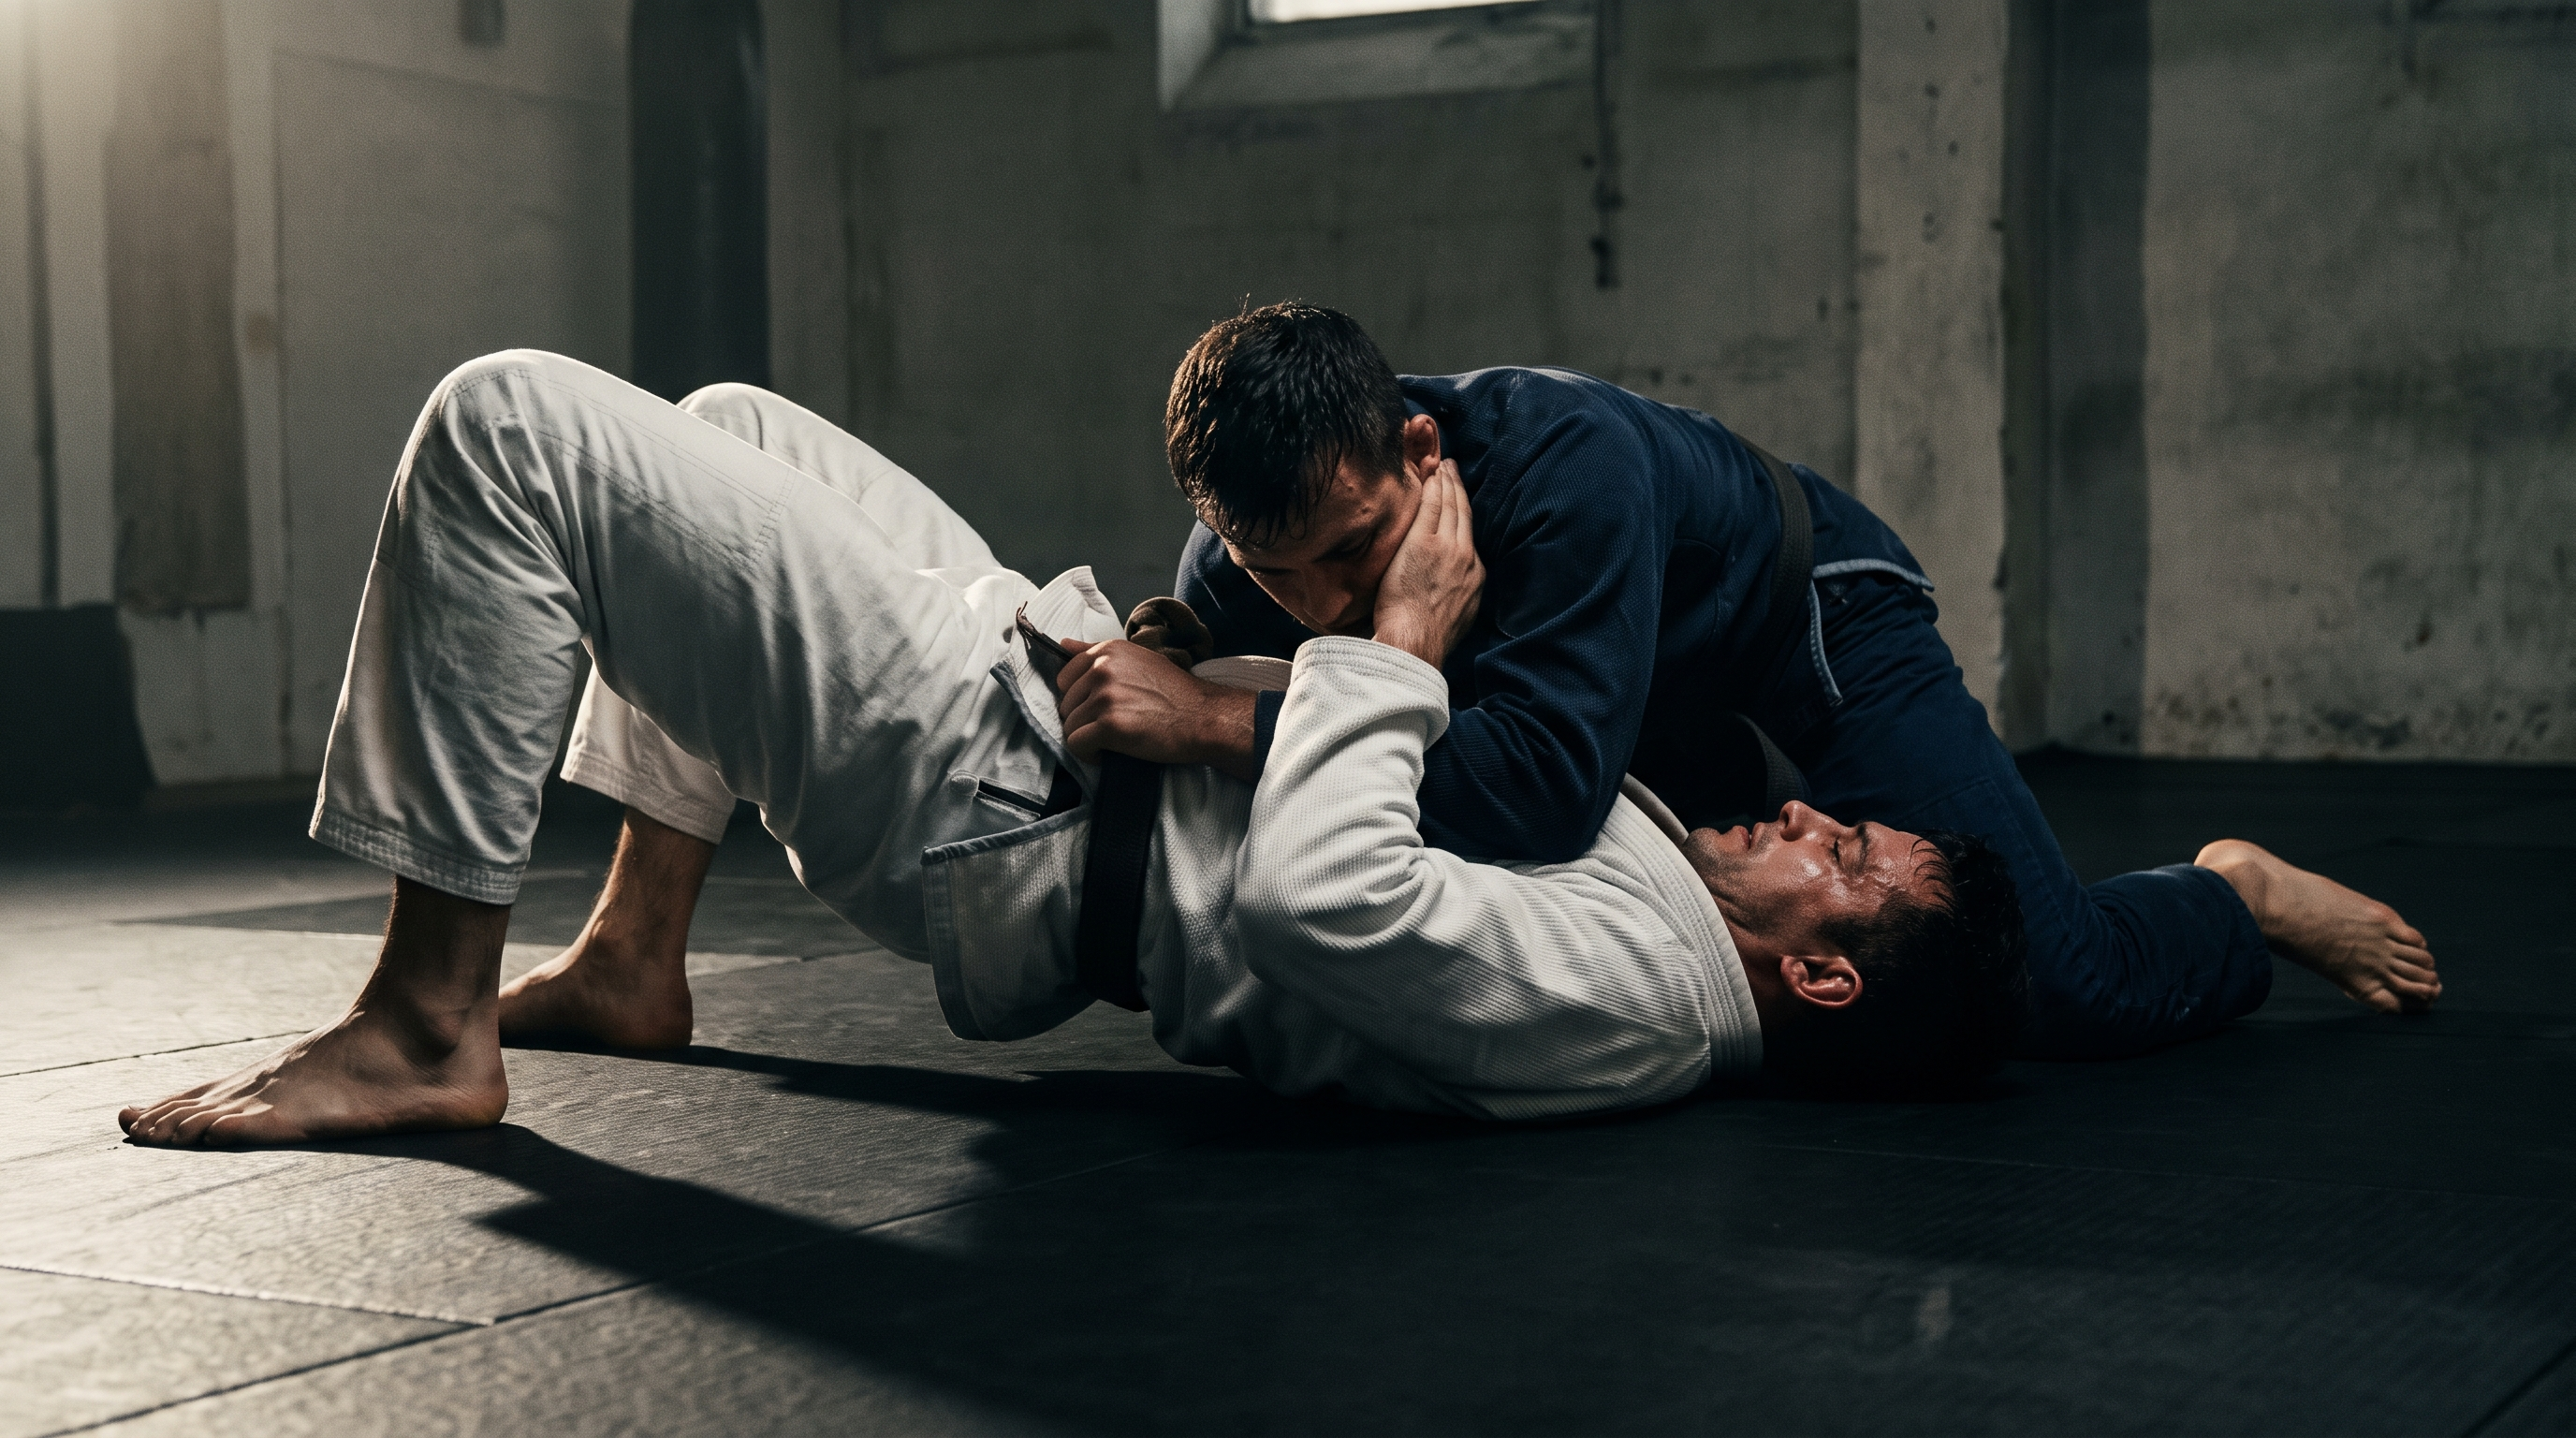
How to Escape Mount in BJJ: 3 Reliable Escapes for White Belts
TL;DR. Being stuck under mount is the worst position in BJJ, but you only need three escapes to survive most white-belt rolls: the upa (bridge and roll), the elbow-knee escape (shrimp to guard), and a hybrid that combines both. Protect your neck and arms first, then commit to one direction, then explode. Drill them slowly, log the details, and revise before class.
If you are a white belt, mount is probably the position that makes you panic the most. Someone heavier is sitting on your chest, your arms feel useless, and every time you move they seem to get closer to a choke or an armbar. The good news: you do not need ten escapes. Two well-drilled escapes plus a hybrid will get you out of most positions you will see in the first year of training. This guide walks you through the mechanics of why mount is so dominant, gives you a simple system with numbered steps, shows the mistakes that kill most escape attempts, and tells you how to actually retain what you drill so it shows up when you roll.
Key takeaways
- The mount is dangerous because your opponent has gravity, base, and submission options while you have no offense — escape is the only priority.
- The upa (bridge and roll) works when your opponent is high on your chest and posts an arm; trap one arm and one leg, then bridge over that side.
- The elbow-knee escape (shrimp to half or full guard) works when your opponent is lower and postured up; frame on the hips and hip out to create a knee shield.
- Always protect your neck with your hands and keep your elbows glued to your ribs to shut down the arm attacks that end most white-belt rolls.
- Pick the escape based on your opponent's weight distribution: high mount and posted hands = upa; low mount and neutral base = elbow-knee.
- Bridge to create space, then shrimp to fill it — most successful escapes chain the two motions together instead of relying on one.
- Drill each escape slowly with a compliant partner before trying it in live rolling, and note what worked in your training journal after class.
Why this happens: what makes mount so hard to escape
Mount is the worst pin in jiu-jitsu for one reason: your opponent has every mechanical advantage while you have none. They are on top, so gravity is doing half of their work. Their hips are above yours, which means any explosive movement you make has to lift their entire bodyweight. And their arms are free while yours are pinned or defending your neck. That is a lot to overcome without a plan.
Most white belts make the same three errors here. They panic and buck straight up (which just pushes their partner into a better base). They push with their arms fully extended (which is the fastest way to get armbarred). Or they turn to their belly to escape (which offers up the back — arguably a worse position). The reason it "never works" is not that you are weak; it is that you are fighting the position instead of solving it.
The solution is boring but effective: create space, then fill space. Bridging creates space. Shrimping fills it with your knee. Chain the two and mount becomes a recoverable position, not a death sentence. Everything below is built on that principle.
Remember. You do not escape mount by getting stronger than the person on top. You escape by removing the base of one side, then rotating your hips into the gap you just created.
A simple system: three escapes, one decision
Here is the whole system in one table so you can see the decision tree before we break down the steps.
| Situation | Their weight is... | Their hands are... | Use this escape |
|---|---|---|---|
| High mount, they're posting on the mat | High on your chest | Posted on the floor near your head | Upa (bridge and roll) |
| Low mount, they're postured up | Lower on your hips | Neutral or on your chest | Elbow-knee (shrimp to guard) |
| Anything in between | Shifting around | Moving, no clear post | Bridge first, then shrimp |
Now the steps. Drill each of these on both sides — most white belts default to their strong side and become predictable.
Escape 1: The upa (bridge and roll)
- Protect first. Fold your arms across your chest, elbows pinned to your ribs, hands on the sides of your neck. This shuts down the cross-collar choke and americana that end most white-belt rolls.
- Trap the arm. Wait until your opponent posts a hand near your head — or bait them into it by turning slightly. Grip their wrist with your same-side hand, pull it across your chest, and pin it flat against your body with your opposite hand.
- Trap the leg. Step your same-side foot to the outside of their same-side foot, then hook the top of your foot over their heel. Now their arm and leg on that side are both trapped.
- Load the hips. Plant your other foot flat, close to your butt, and take a breath.
- Bridge over the trapped side. Drive your hips up and over the shoulder of the trapped arm. Do not bridge straight up — that only pushes them into you. Bridge diagonally, up and over.
- Land inside their guard. As they roll, follow through and finish in their closed guard. You are now in a neutral position.
- Immediately posture and reset. Do not celebrate. Base up, control the hips, and start playing your top game.
Escape 2: The elbow-knee escape (shrimp to guard)
- Protect first. Same as above — elbows tight, hands to your neck.
- Frame on the hip. Turn slightly to one side. Place the elbow of your bottom arm on the hip bone of your opponent on that same side. Your forearm becomes a wedge between their hip and your body.
- Shrimp your hips out. Push off the mat with your free foot and slide your hips away from the framing side. Your goal is to create just enough space to fit a knee through.
- Insert the knee. As soon as space appears, slide the knee of the framing side up and into the gap. Angle the knee across your opponent's belly, not straight up.
- Recover half guard. If the knee only makes it halfway, close your legs around their thigh and lock a half guard. That is a win — you are out of mount.
- Or recover full guard. If you got a full shrimp, swing the other leg over and close full guard.
- Reset your grips and breathe. Get to a defensive guard position (elbows in, hands on collars or wrists) and slow the pace down.
Escape 3: The hybrid (bridge, then shrimp)
Against anyone with a bit of experience, one motion rarely finishes the job. The bridge lifts them; the shrimp escapes underneath while they are still airborne. This is the escape that actually works in live rolling.
- Protect and frame. Neck safe, one elbow on the far hip.
- Explosive bridge straight up. Not a full roll — just enough to lift them and force them to post a hand.
- Shrimp under them as they land. As their weight comes back down, hip out hard to your framing side.
- Insert the knee. Slide the knee in during the split second their hips are unweighted.
- Recover half or full guard. Same finish as escape 2.
Remember. The bridge is not the escape — it is the setup. The shrimp is what actually gets you out. New students spend too much energy on the bridge and too little on the hip escape that follows it.
Common mistakes that kill your escape
Most failed escapes fail for the same handful of reasons. Watch for these when you drill:
- Extending your arms. Pushing with straight arms feeds submissions. Keep elbows bent and glued to your ribs. Frames use bone structure, not muscle.
- Bridging straight up. A vertical bridge pushes your opponent into a stronger base. You need a diagonal bridge, up and over one shoulder.
- Not trapping the leg on the upa. If you only trap the arm, they post the leg and stop the roll. Both must be trapped for the escape to finish.
- Turning to your knees. Rolling to your belly to escape gives up the back. If you are turning, you are losing — turn into a frame or a shrimp instead.
- Trying to escape while flat. If your hips are square and pinned, you have no leverage. Turn slightly to one side first to create an angle.
- Holding your breath. Panic-holding your breath during a bridge burns your gas tank instantly. Exhale on the effort.
- Only drilling one side. Your opponent will not pick the side you like. Drill both sides every session.
How BJJ Memo fits in
Most white belts learn the upa in week two, forget half the details by week four, and end up asking their coach again in month three. That cycle is why so many people plateau early. BJJ Memo is built to break it: paste the YouTube instructional you learned the escape from, and the app turns it into a structured technique card with steps, key details, and tappable timestamps for the visual moments. File it under "mount escapes," add your own notes after class, and let the review flow surface it the day before your next session so it is fresh when you tie your belt. That is it — no replacement for your coach, just a way to make the reps you already do actually stick.
Frequently asked questions
Which mount escape should a complete beginner learn first?
Start with the upa. It has fewer moving parts, it teaches you the diagonal bridging motion that shows up in dozens of other escapes, and it works against training partners who lean forward — which most beginners do when they hit mount. Once the upa is automatic, layer the elbow-knee escape on top.
Why does my mount escape work in drilling but not in live rolling?
Usually because you are waiting until you are fully mounted and gassed before starting. Escapes work best in the transition, before your partner settles their weight. Start defending the moment they pass — frame, hip out, and try to escape before they establish a heavy mount. Also check that you are drilling both sides; live rolling rarely gives you your favorite side.
What if my opponent goes for a submission while I am trying to escape?
Hand-fight first, escape second. If they attack a cross-collar choke, break the grip before you bridge. If they isolate an arm for the americana, protect the arm before you shrimp. A safe survival is worth more than a rushed escape that gives up a tap.
How long does it take to get comfortable escaping mount?
Most people need a few months of consistent drilling before mount escapes feel automatic in live rolling. Focused, deliberate practice — with a plan for what to drill each session — moves it along much faster than random rolling alone. Keeping notes on what worked and what did not helps a lot.
Is bridging straight up ever the right move?
Only as a distraction to force your opponent to post a hand you can trap, or to unweight them before a shrimp. As a standalone escape, no — a straight bridge just launches your partner into a firmer base.
Can I use these escapes in no-gi as well as in the gi?
Yes. The mechanics are identical. In no-gi you will not have collar grips to worry about, but the submission threats (arm triangle, mounted guillotine, ezekiel) still favor keeping your elbows tight and your neck protected.
Get out, then remember how you did it
Surviving mount is a solvable problem. Three escapes, one decision, drilled on both sides, is enough for the first year of your BJJ journey. The hard part is not learning them once — it is remembering the details months later when your coach shows a variation and you cannot quite recall the base version.
Next time you watch a mount escape instructional on YouTube, save it to BJJ Memo as a technique card so it is filed, searchable, and ready for revision before your next class. Build your library one position at a time, and the escapes you drilled in month one will still be sharp in year one.
For real feedback and safety, train these escapes at a legit academy with a qualified coach — BJJ Memo helps you remember and revise, it does not replace mat time. Ask your instructor to watch your bridge and your shrimp before you trust them in a hard roll.
Last updated 2026-08-13.