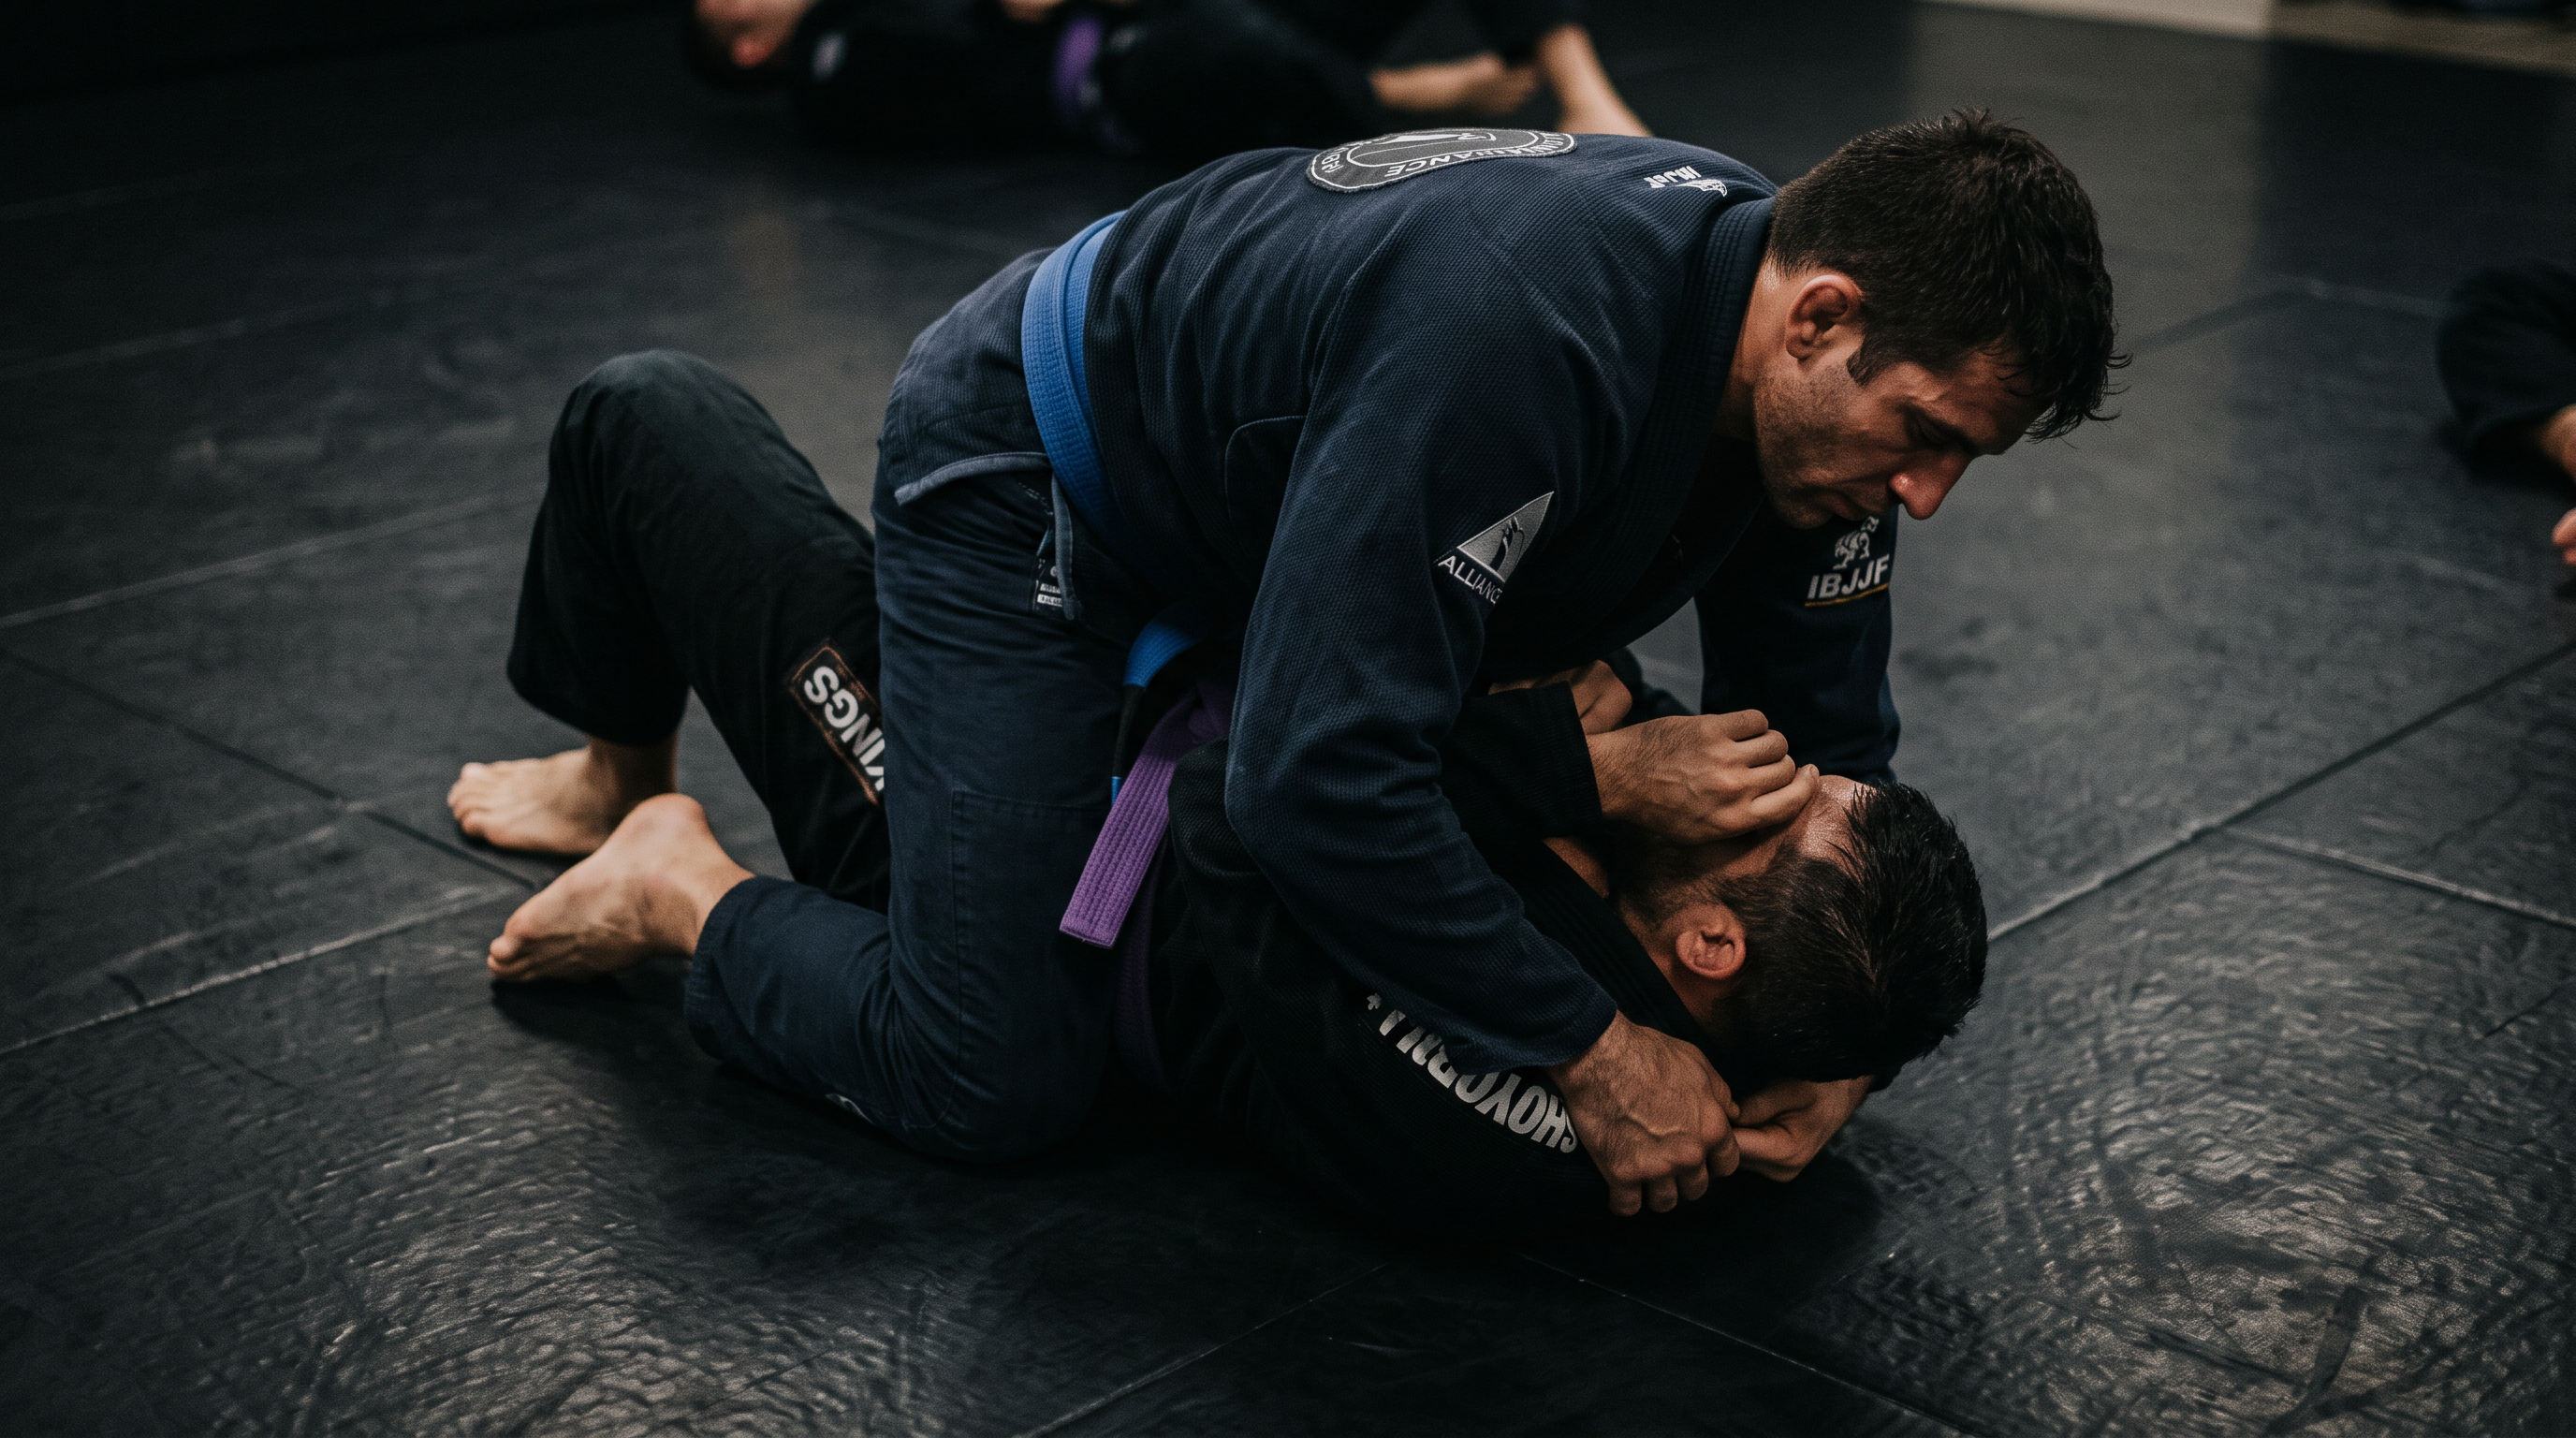
How to Escape North-South in BJJ: A White Belt's Framework for Getting Back to Guard
TL;DR. North-south pins white belts because they panic-bridge into the person crushing their chest. Instead: protect the neck, turn your head, create a shoulder-to-shoulder frame, shrimp your hips out at an angle, and recover half guard or knee shield. Drill the sequence slowly with a partner before trying it live, and revise the steps between sessions so the pattern is there when a heavier training partner locks you down.
If you have trained BJJ for more than a few weeks, you have felt north-south. Your training partner's hips are up over your head, their chest is buried into yours, and every time you try to bridge you somehow feel heavier, not lighter. You gas out in seconds, tap to a choke you did not see coming, or just lie there waiting for the round to end.
Good news: north-south is not a mystical pin. It is a chest-to-chest position with predictable pressure points, and there is a repeatable escape any white belt can learn. This article gives you a framework — a fixed order of movements — that you can drill slowly, then bring into live rolling. It is not the only escape, but it is a reliable one that works for smaller people against bigger partners.
Key takeaways
- North-south is a chest-to-chest pin where the top player's hips are above your head — bridging straight up only feeds them more pressure.
- Your first job is defensive: protect the neck, tuck the chin, and turn your head to one side so you can breathe and see an exit.
- The escape is a frame-and-angle problem, not a strength problem — you need space at the shoulders before you can move your hips.
- A reliable white belt escape has five steps: frame, turn, bridge to create space, shrimp out at an angle, and insert a knee or leg to recover guard.
- Common mistakes include flat-back panic bridging, giving up the underhook, and trying to sit up straight into the top player's base.
- Escapes work in combination — if the first attempt fails, the top player usually shifts to side control or kesa-gatame, and you flow into the escape for that pin.
- Retention matters more than novelty: drill the same escape hundreds of times and review the steps between sessions so they become automatic.
Why north-south is so hard to escape
North-south feels awful for a specific reason: the top player's weight is stacked on your chest with their hips floating above your head. Their base is wide and their pressure funnels straight down through your sternum. Every reflex you have — bridge, push, sit up — moves you into their weight instead of away from it.
Three things typically go wrong for beginners:
- You keep your head straight. Chin tucked upward means the top player can smother your face, cut off your breathing, and set up chokes like the north-south choke or a spinning darce.
- You leave your arms out. Loose elbows away from your ribs let the top player attack the arms (kimura, armbar) or slip into a choke.
- You try to move your hips before you have space. With their chest crushing yours, your hips are pinned to the mat. Hip movement without a frame goes nowhere.
Once you understand these three failure modes, the solution is almost obvious: create space at the shoulders first, then move the hips. That is the whole game.
Remember. North-south is a shoulder problem before it is a hip problem. If your shoulders and head are trapped, your hips will never move.
A simple 5-step system for escaping north-south
Here is a framework you can drill on any given night. Do it slowly the first hundred reps. Speed comes from precision, not the other way around.
Step 1 — Protect the neck and turn the head
Bring both hands up to your neck immediately. Interlace the fingers or stack the palms under your chin, elbows tight to your ribs. Turn your head firmly to one side — pick the side you plan to escape toward. This does three things at once: it defends the choke, it makes room to breathe, and it tells your body which way you are going.
Step 2 — Build a shoulder-to-shoulder frame
With your head turned, drive the elbow on your "escape side" up into the crook of their neck or across their far shoulder. The forearm becomes a wedge between their chest and yours. Your other hand stays defensive at your neck. You are not pushing them off — you are creating a small, structural gap between their chest and your chest so pressure stops going straight through you.
Step 3 — Bridge slightly and off-angle
Now, and only now, use a small bridge. Push off both feet and lift your hips a few inches, angling toward the side your head is turned to. Do not bridge straight up — that gives them a free ride. The bridge is a lever to unstick your shoulders from the mat, not a bench press.
Step 4 — Shrimp the hips out at an angle
As the bridge peaks, hip-escape (shrimp) your hips away from the top player. Your body should end up angled so your feet are pointing away from their base and your head is closer to their hip on one side. The frame you built in Step 2 keeps their chest from following you.
Step 5 — Insert a knee or shin and recover
As soon as you have angle, thread the near knee or shin between you and them. From here you have three common recoveries:
- Knee shield / half guard — trap one of their legs with your legs and pin their hip with your knee across their belt line.
- Deep half or z-guard — if you are already under their hips, scoop the far leg.
- Turtle and re-guard — if they collapse pressure back down, turn to your knees, hand-fight, and stand up or sit back into guard.
The table below sums up what is happening in each step.
| Step | Goal | Common mistake |
|---|---|---|
| 1. Protect neck + turn head | Survive, choose an escape side | Chin up, face smothered |
| 2. Build frame at their shoulder | Create chest-to-chest space | Pushing straight up with palms |
| 3. Off-angle bridge | Unstick shoulders from mat | Bridging straight up |
| 4. Shrimp hips out | Create the escape angle | Moving hips before framing |
| 5. Insert knee, recover guard | Rebuild guard structure | Turning belly-down without hand fight |
Remember. Frame → bridge → shrimp → knee in. That order. If you skip a step, you get stuck.
Common mistakes that keep you pinned
Even with the framework above, most white belts sabotage themselves in the same three or four ways. Fix these and your escape rate goes up immediately.
Flat-back panic bridging
You feel the weight, so you bridge as hard as you can, straight up. The top player rides it, sinks their hips lower on the next beat, and now you are more tired and more pinned. Bridges only work when they have direction and a frame behind them.
Giving up the underhook / letting the elbows drift
If your elbows float away from your ribs, the top player will attack a spinning armbar, a kimura, or slip a hand under your neck for a choke. Elbows glued to the ribs are your default. You only move an elbow to frame or to shoot for an underhook — never to "just push."
Trying to sit up straight
This is instinctive and completely wrong. Sitting up drives your face into their chest and hip. Instead, keep your shoulders on the mat and use the ground as your third arm while your feet do the work.
Escaping without a plan for the next position
A good escape ends in a stable position — guard, half guard, or a hand-fighting scramble. If you "escape" and end up flat on your side with no frames, you are about to be pinned again in side control. Always know what you are escaping to.
Not drilling the escape enough
This is the biggest one. You cannot learn a pin escape by watching it. You need slow, cooperative reps until the sequence lives in your muscle memory. See the BJJ Memo blog for more on how to structure drilling and retention.
How BJJ Memo fits in
Escapes are pattern-recognition problems. You need to see the pressure changing and know the next step without thinking. That only comes from repetition — on the mat, and mentally between sessions.
BJJ Memo is a mobile app that helps you turn any BJJ YouTube video (a class breakdown, an instructional clip, a competition escape) into a structured Technique Card with the steps, key details, and tappable timestamps. You file it into a personal library and revise it before your next class, so the north-south escape you watched on Sunday is still fresh in your head on Tuesday night.
It is not a coach. It is a memory system for the techniques you already have access to. If you want to learn more about the approach, read our guide on how to remember BJJ techniques or browse the BJJ Memo homepage.
Remember. The best escape is the one you have drilled a hundred times and reviewed the night before class. Novelty is fun; retention is what wins scrambles.
Frequently asked questions
What is north-south position in BJJ?
North-south is a top pin where the top player's chest lies across the bottom player's chest, with their head and hips flipped 180 degrees — their hips are above your head, their head is near your hips. It is one of the classic dominant pins in Brazilian Jiu-Jitsu, worth 4 points in most sport rulesets when controlled for the required time.
Why does north-south feel worse than side control?
Because the top player's weight is stacked directly through your sternum with their hips floating above your head, your usual bridging and shrimping mechanics do not line up. Side control offers more angles to frame and hip out; north-south demands that you frame at the shoulders before you try to move your hips.
Can I bench-press my way out of north-south?
No, and trying will gas you out. Pushing straight up puts your arms in a weak position and gives the top player a free path to attacks like the north-south choke or kimura. Use frames (bent elbows wedged into their shoulder or neck), not extended pushes.
What should I do first when I get stuck in north-south?
Protect your neck and turn your head. Everything else follows from that. If you cannot breathe and cannot see, you cannot escape. Hands to the neck, chin tucked, head turned to your chosen escape side — then start framing.
How long does it take to get good at escaping north-south?
Honestly, months of consistent drilling. The framework in this article you can learn in one session; making it reflexive under a heavier training partner takes many rounds. Drill it slowly at the end of class, review the steps between sessions, and use it live even when it fails. That is how it gets ingrained.
Is this the only way to escape north-south?
No. There are wrestling-style granby rolls, sit-out escapes, and underhook-based escapes that spin you to their back. The five-step frame-and-shrimp system in this article is a good first escape for white and blue belts because it uses the same fundamentals you already need for every other pin escape.
Keep learning, and remember to revise
Escaping north-south is a solvable problem. Protect the neck, frame at the shoulders, bridge with direction, shrimp at an angle, and rebuild your guard. Drill it slowly. Bring it into live rolls even when it fails. Ask a black belt or your coach to watch a rep or two and tell you what you are missing.
And once you have the pattern, keep it fresh. Next time you watch a good escape on YouTube — a Lachlan Giles breakdown, a class recap, a competition clip — save it as a Technique Card in BJJ Memo so it is there in your pocket before Tuesday's class. Small, consistent reps beat marathon sessions, and reviewing what you already know beats collecting techniques you will forget.
For real feedback and safety, train the technique at a legit academy with a qualified coach — BJJ Memo helps you remember and revise, it does not replace mat time.
Last updated 2026-08-24.