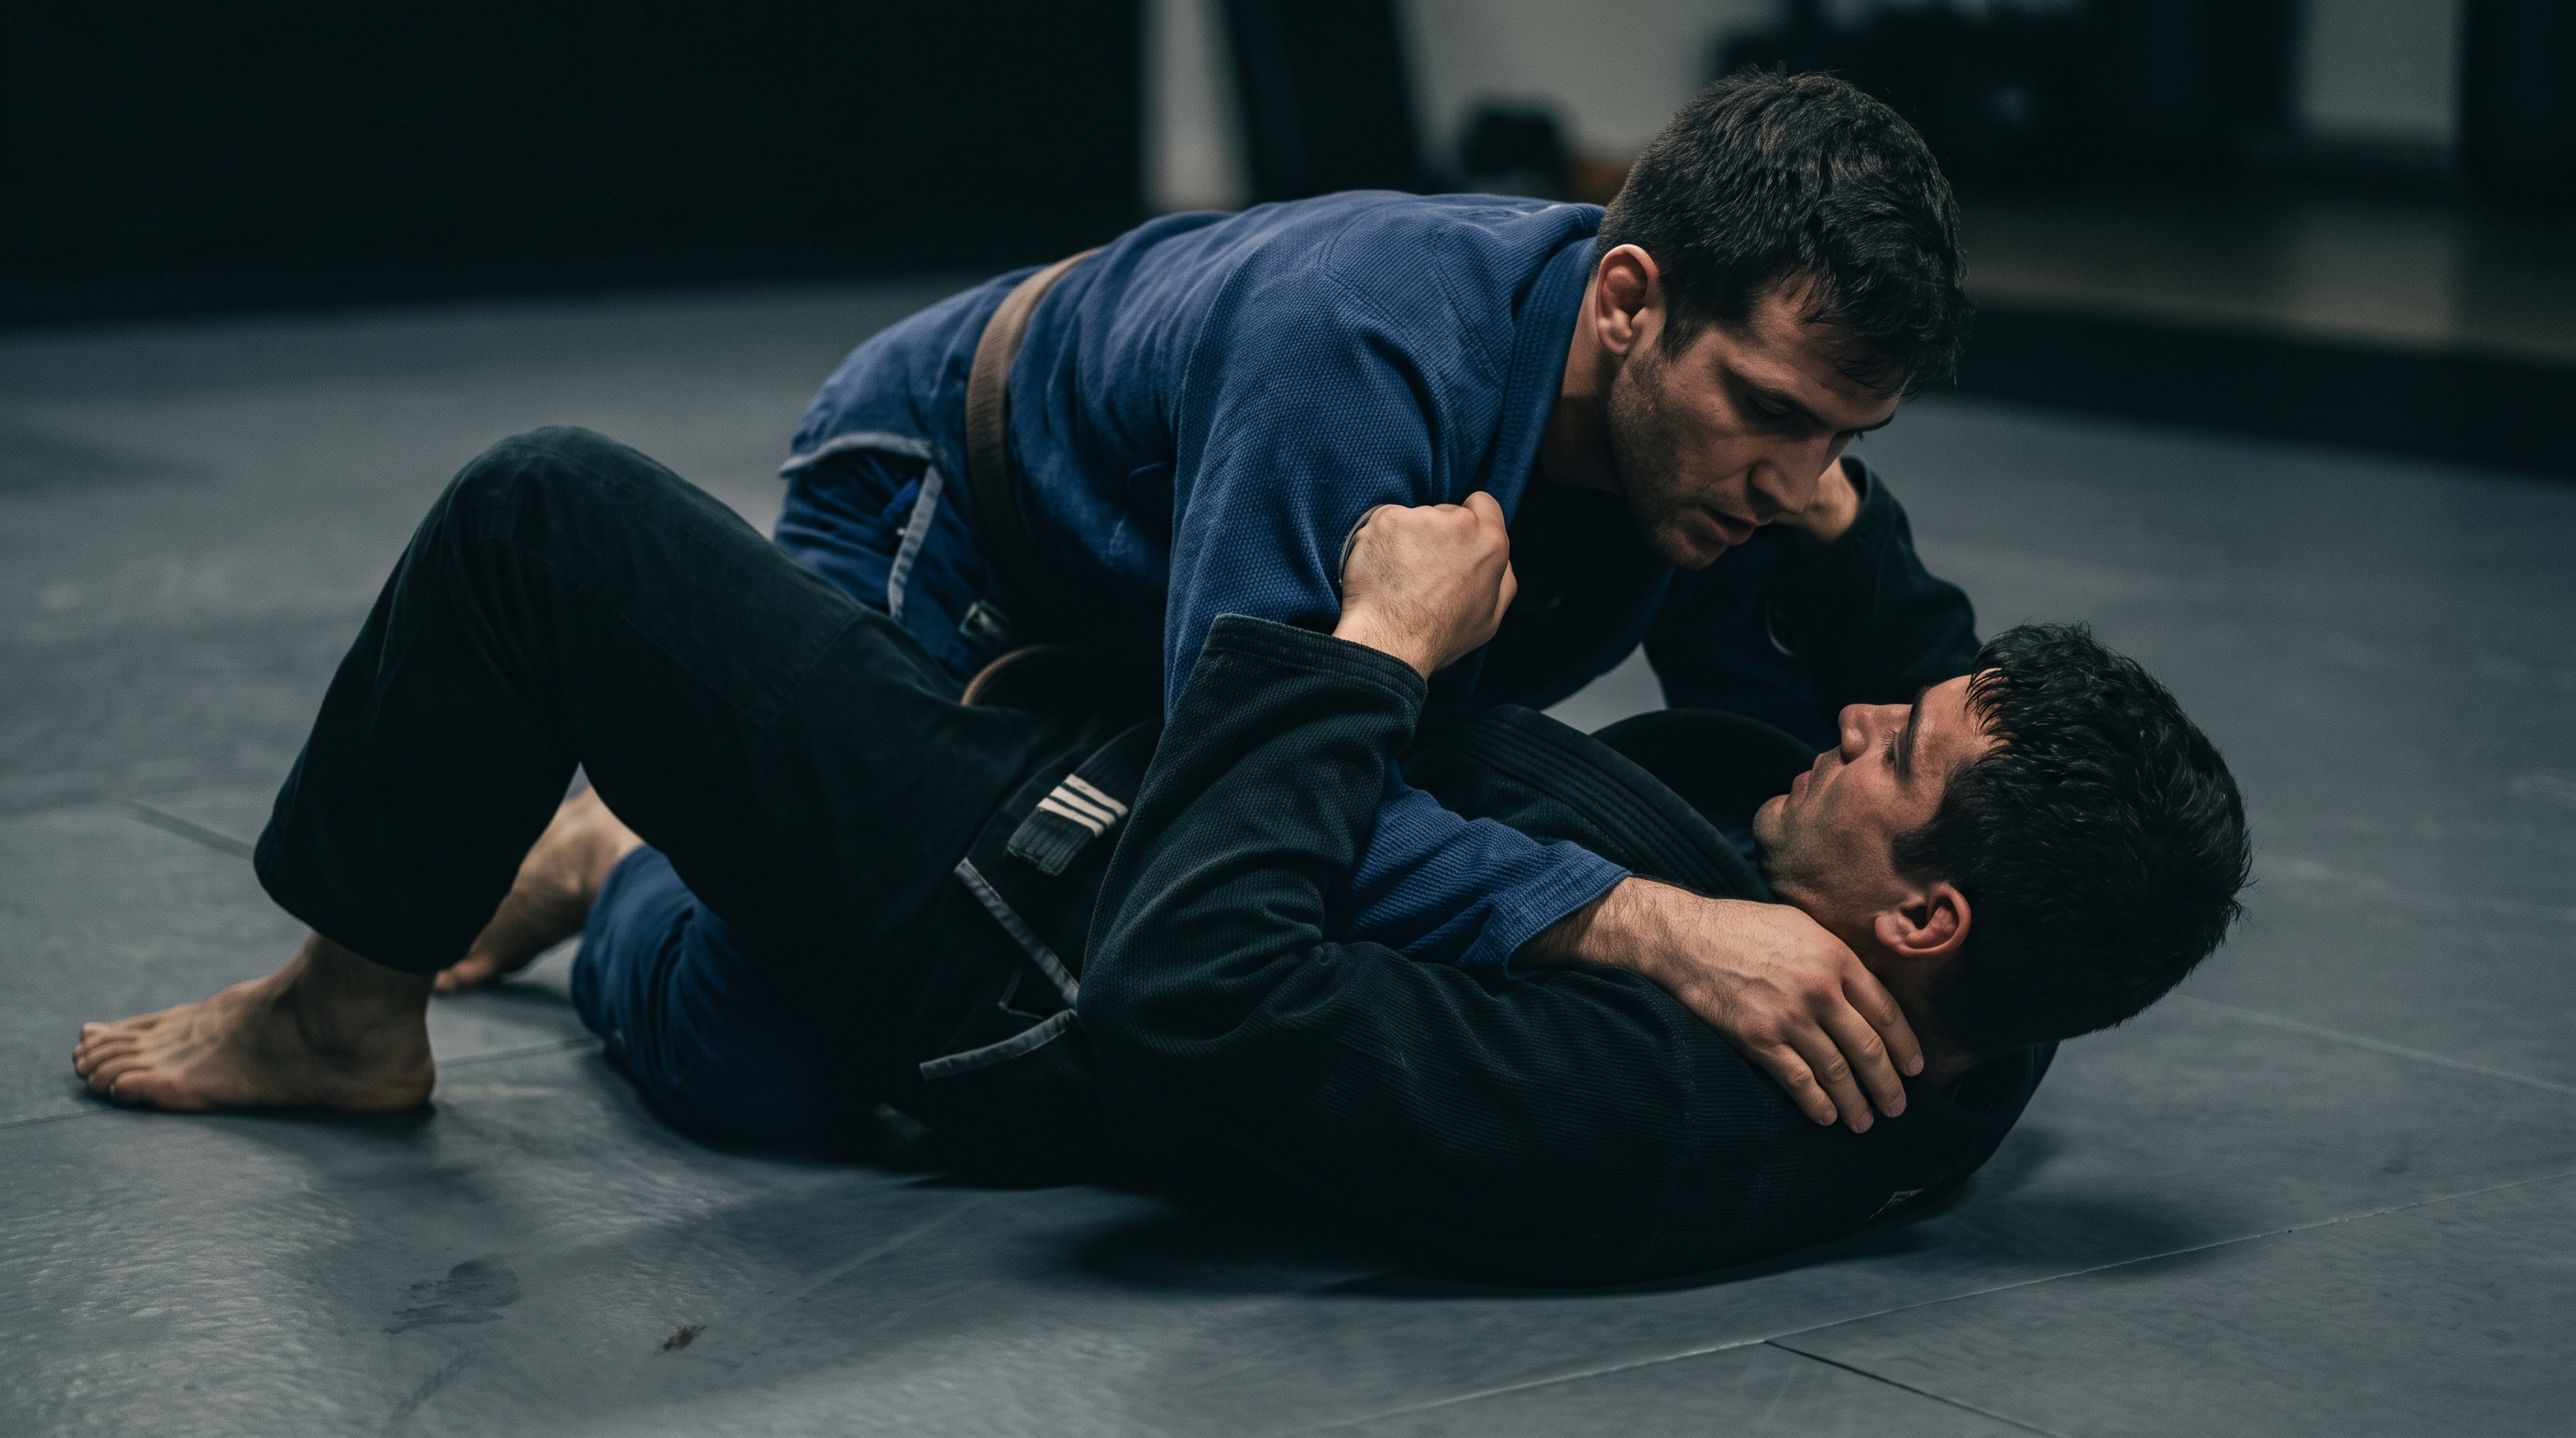
How to Escape Side Control: A Step-by-Step Guide for White Belts
TL;DR. Side control feels impossible because your training partner is using their weight against a flat, unframed body. To escape, protect your neck, build strong frames on the far hip and near shoulder, get on your side, shrimp your hips out, and either recover guard or come up to your knees. Drill the shrimp and the frames until they're automatic — that's how white belts finally stop drowning under side control.
If you've been training Brazilian Jiu-Jitsu for a few weeks, you already know the feeling. Someone passes your guard, drops their chest onto your ribs, and suddenly you can't breathe, can't move, and can't remember a single thing your coach showed you. Welcome to bottom side control — the position where most white belts spend far too much of their rolls.
The good news: escaping side control is a solvable problem. It's not about strength or a secret move. It's about understanding why the position is so heavy, then applying a small system of frames and hip movement in the right order. This guide walks you through a safe, beginner-friendly escape sequence you can start drilling in your next session, plus the common mistakes that keep white belts stuck.
Why side control feels impossible
Before you can escape a position, you have to understand what's actually pinning you. Side control works because your partner is doing three things at once:
- Chest-to-chest pressure. Their sternum drives into yours, flattening your shoulders to the mat.
- Weight distribution through the hips. They keep their hips low and sprawled, so your legs can't reach them.
- Control of your near-side arm and head. Usually one arm wraps under your head, the other blocks your near hip, killing the two frames you need most.
When you're flat on your back with no frames and no space, everything you try feels like pushing a car uphill. The escape starts with taking those advantages away — not by out-muscling your partner, but by changing your body position so their weight has somewhere to go.
Remember. Side control is a pin, not a submission. Your first job is to breathe and survive. Panicking burns energy your partner is happy to wait out.
The two ingredients of every escape
Every reliable side control escape at any belt level comes down to two ingredients:
- Frames — bony structures (elbow, forearm) that create space between you and your partner.
- Hip movement — using that space to move your hips away, not to push them away.
White belts almost always try to push the opponent off with their arms. Purple belts move their own hips. Learning that mental shift is half the battle.
A simple system: 6 steps to escape side control
This is a bread-and-butter escape sequence. It's not the flashiest, but it works against bigger, stronger partners, and it sets up almost every other escape you'll learn later.
Step 1 — Protect your neck and elbow
The instant you feel side control settle, tuck your near elbow tight to your ribs and bring your near hand to your neck or jaw. This does two things: it defends the cross-face and the near-side arm attacks (kimura, near-side armbar), and it starts building the frame you'll use in Step 2. Do not reach across your partner's back — that arm gets isolated and submitted.
Step 2 — Build your frames
You need two frames:
- Near-side frame: your near forearm braces against their neck or the front of their shoulder.
- Far-side frame: your far hand/forearm reaches across and posts on their far hip or hip crease.
These two frames stop them from sliding up to mount and give you a rigid structure to move against. Keep your elbows connected to your body — extended arms get ripped off.
Step 3 — Get onto your side
Bridge slightly off your near shoulder and turn onto your near hip so you're facing your partner. Flat-back is death; side-on is life. Your near knee should come up toward your chest to block them from sliding to north-south or mount.
Step 4 — Shrimp (hip escape) away
Here's where the classic shrimp escape comes in. Push off the mat with your outside foot, drive your hips away from your partner, and use your far-hip frame to keep them from following. You're trying to create just enough space to slide your near knee (or shin) between you and them.
Step 5 — Insert the knee shield
As soon as there's space, slip your near-side knee across your partner's belly. This is your knee shield — a physical wall between their hips and yours. Once that knee is in, you've already won most of the position back.
Step 6 — Recover guard (or come up)
From the knee shield you have two clean options:
- Recover full guard by circling your far leg over their back and locking your ankles.
- Come up to your knees into a headlock/underhook battle, especially if they're standing or heavy on top.
Either way, you're no longer being pinned.
| Step | What you do | Why it matters |
|---|---|---|
| 1 | Tuck elbow, hand to neck | Defends submissions and cross-face |
| 2 | Build two frames | Stops mount transition, creates leverage |
| 3 | Turn onto your side | Flat-back is unwinnable |
| 4 | Shrimp hips away | Creates the space for a knee |
| 5 | Insert knee shield | Physically separates hips |
| 6 | Recover guard or come up | Ends the pin |
Remember. These steps are a sequence, not a menu. Skipping frames to go straight to the shrimp is the reason your escape keeps failing.
Common mistakes white belts make from bottom side control
If your escape isn't working, one of these is almost always why:
- Staying flat on your back. You cannot escape from flat. Turn onto your side, even a little.
- Pushing the opponent instead of moving yourself. Your hips move much better than their whole body.
- Reaching the far arm over their back. That arm gets hugged and you get kimura'd or rolled to your belly.
- Bridging without a plan. A big bridge with no frame just launches your own arm into an armbar.
- Holding your breath and gassing out. Breathe through your nose, stay calm, buy time until you have your frames.
- Trying to explode out. Explosive escapes work occasionally against smaller partners. Structure works against everyone.
- Never drilling the escape cold. If you only ever try it in live rolling, you'll never build the reflex.
A simple drill you can do this week
Have a training partner take side control on you with medium pressure. Don't try to escape yet — just spend 60 seconds finding your frames, getting on your side, and breathing. Then start adding one shrimp, then two. Building comfort under pressure is what turns the technique into an instinct.
Where BJJ Memo fits in
One reason white belts struggle with side control escapes is not the technique itself — it's forgetting the small details between the class where they learned it and the next open mat. Which frame goes where? Which foot pushes first? Was it the near knee or the far knee?
BJJ Memo is a small app that helps with exactly this problem. Paste a YouTube instructional on side control escapes (there are excellent free ones from top-level coaches), and BJJ Memo turns it into a structured technique card — steps, key details, common mistakes, and tappable timestamps for the visual moments. You can then flip through your saved cards in the technique library before training so the reps you did in class actually stick.
It won't replace mat time or a good coach. It just makes sure the escape you drilled on Tuesday is still in your head on Thursday.
Remember. The best escape is the one you can recall under pressure. Reviewing your notes for two minutes before class beats watching a new instructional every night.
Frequently asked questions
How long does it take to get good at escaping side control?
Most white belts start feeling meaningful improvement within a few months of consistent drilling — assuming they actually drill the shrimp and frames outside of live rolling. Escapes are a skill you build gradually, not a trick you learn in one class.
Should I bridge or shrimp first?
Use a small bridge to create momentary space, then immediately shrimp your hips out and insert your knee. A big bridge with no follow-up just tires you out and can expose your arm. Think of the bridge as a setup for the shrimp, not the escape itself.
What if my partner is much bigger than me?
The system doesn't change — it becomes more important. Against a bigger partner you cannot muscle out. Prioritize survival first (frames, breathing, staying on your side), then look for the smallest amount of space to insert a knee. Patience beats panic every time.
Is the shrimp escape the same as the hip escape?
Yes. "Shrimp," "hip escape," and "shrimping out" all describe the same movement: pushing off a foot to slide your hips away from your partner while staying on your side. It's the single most fundamental movement in BJJ for beginners.
What if they cross-face me hard and I can't turn in?
That's a sign your near-side frame isn't in place. Get your near forearm into the crook of their neck or across the front of their shoulder to blunt the cross-face, then work to your side. If they've already flattened you, sometimes it's better to work an underhook and come up to your knees instead of trying to recover guard.
Do I need to learn every side control escape as a white belt?
No. Pick one shrimp-to-guard escape and one knee-elbow escape and drill them until they're automatic. A small number of reliable beginner escapes beats a big menu of half-learned techniques every time.
Start drilling, start remembering
Escaping side control isn't a gift you're born with — it's a set of small habits (frame, turn, shrimp, knee) that become automatic through repetition. Pick one escape from this guide, drill it slow this week, and use it live next week. And the next time you watch a coach break down a side control escape on YouTube, save it as a technique card in BJJ Memo so it's still in your head before your next roll.
For real feedback and safety, always train these techniques at a legit academy with a qualified coach. BJJ Memo helps you remember and revise what you've learned — it doesn't replace mat time or a real instructor watching your reps.
Last updated 2026-08-10.