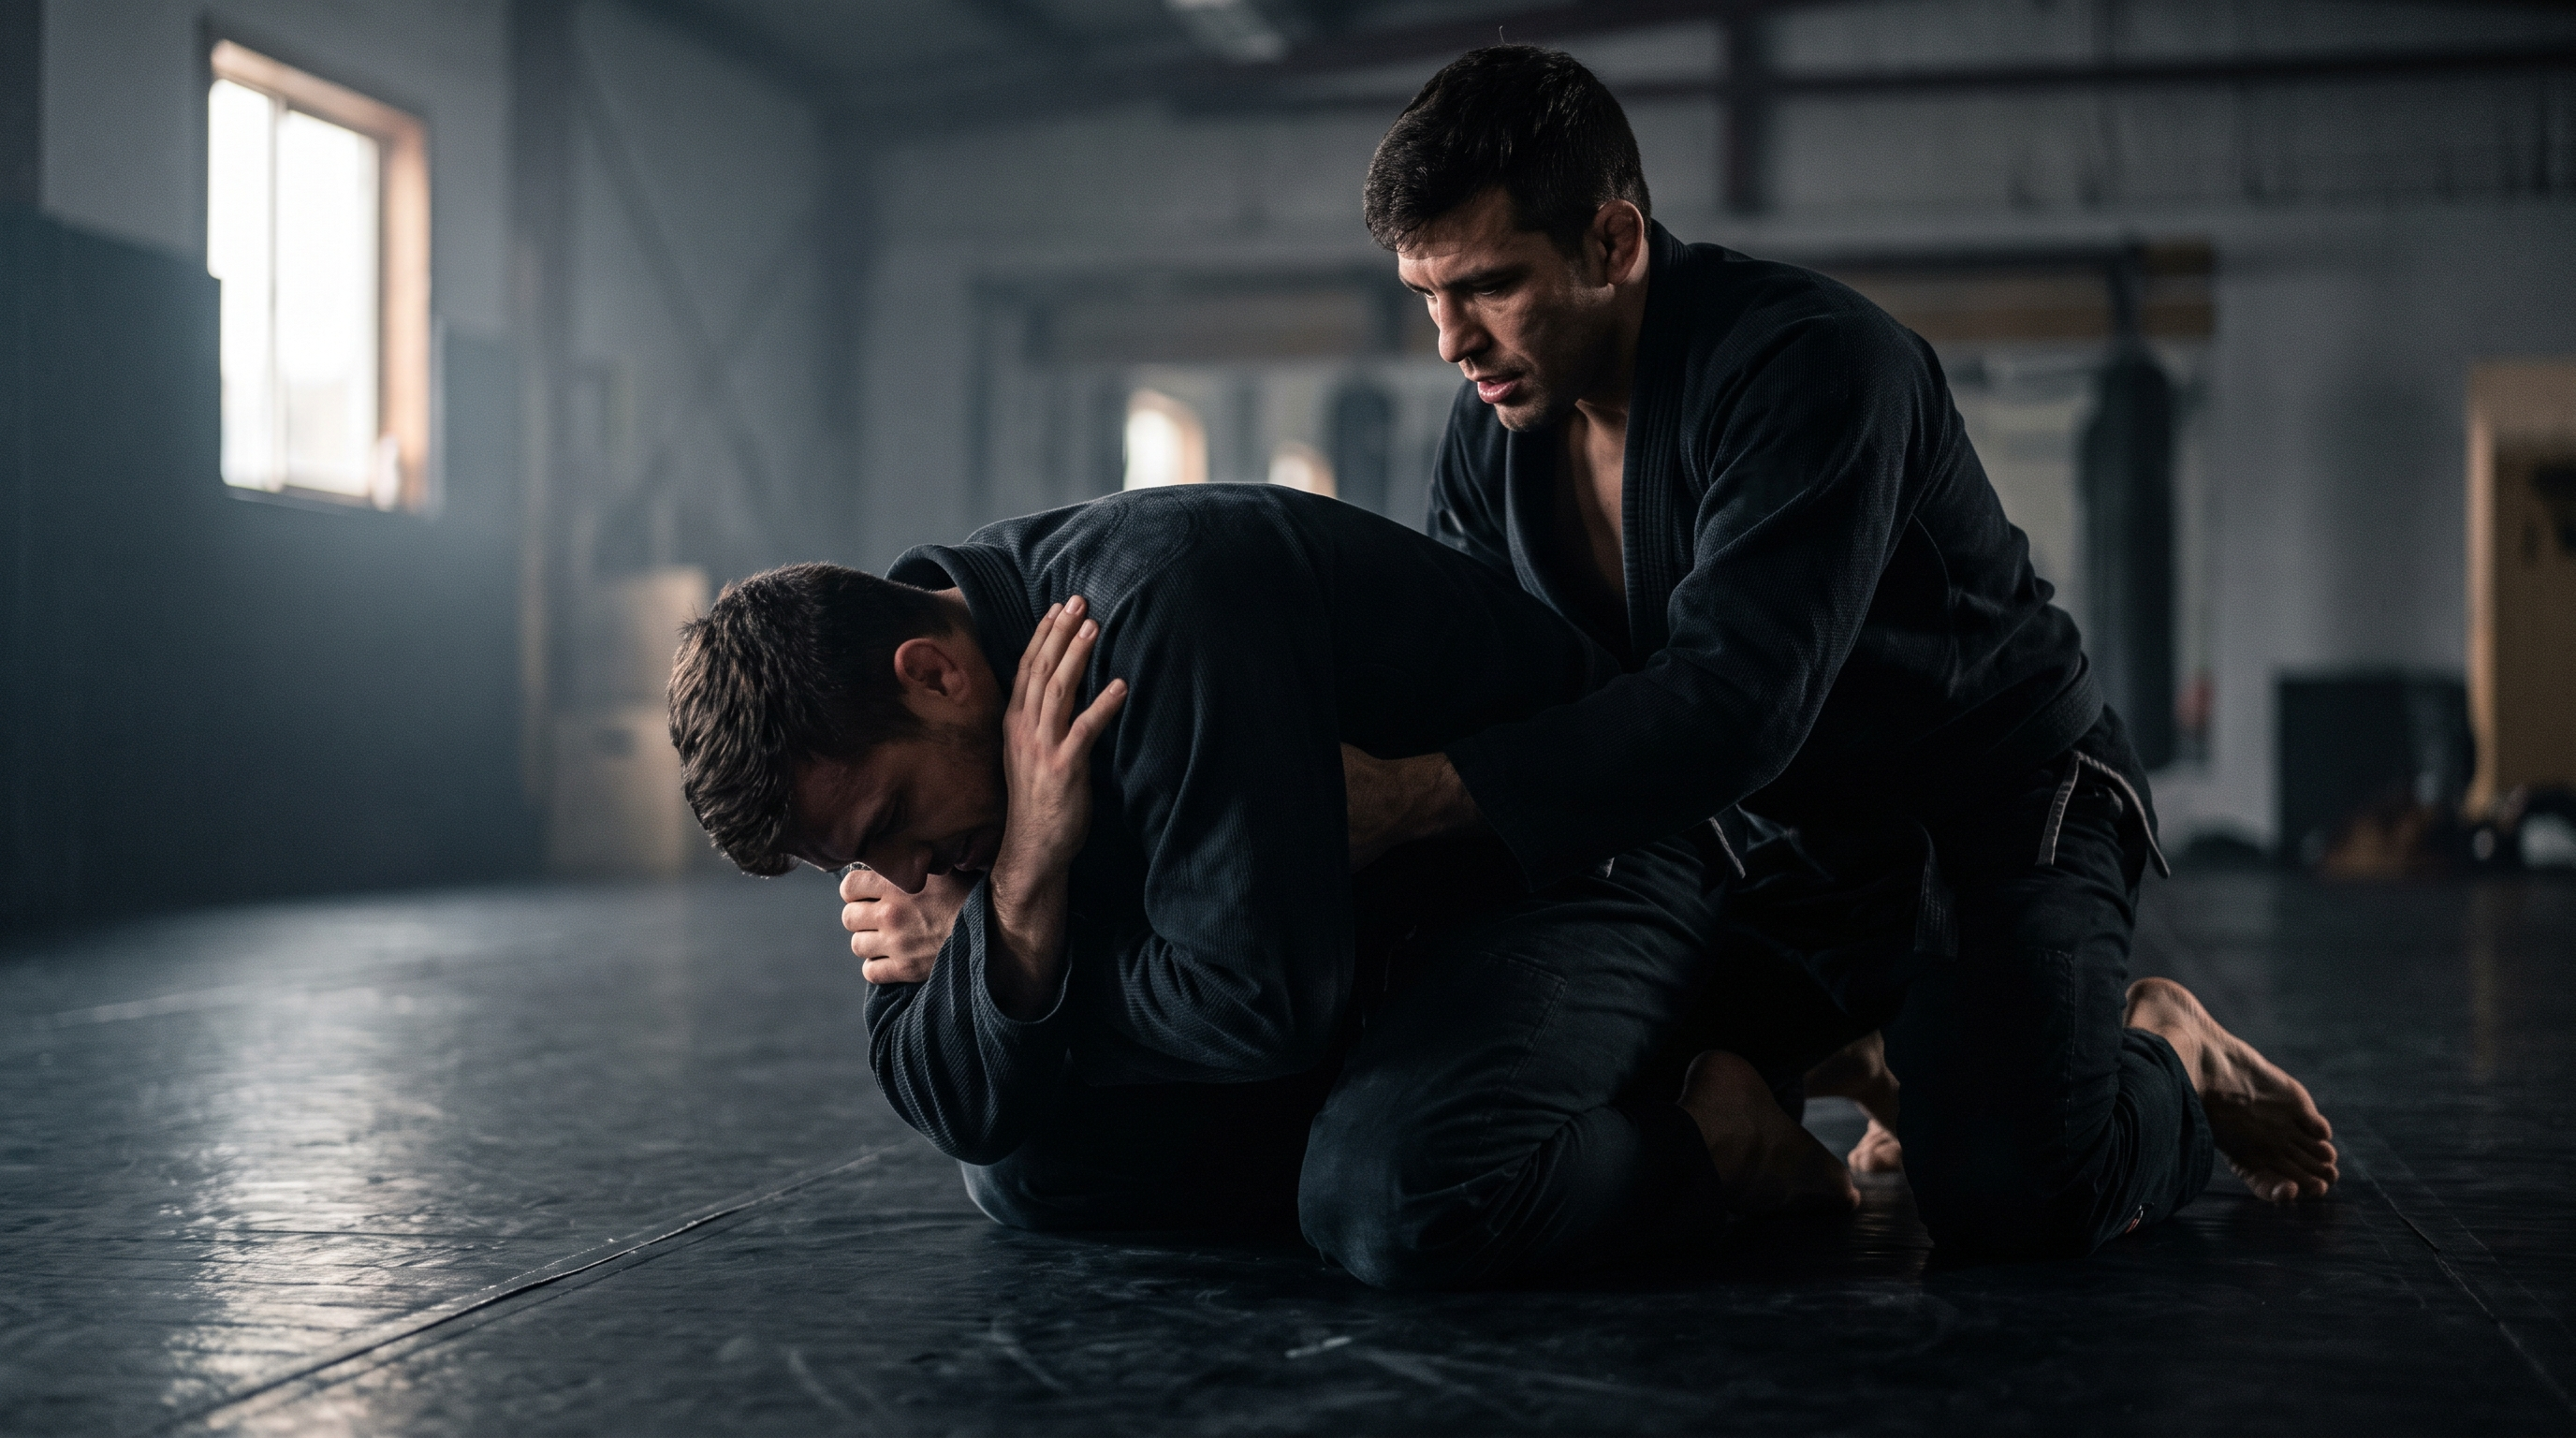
How to Escape the Turtle Position in BJJ: A White Belt's Guide to Getting Back to Guard
TL;DR. The turtle isn't a home — it's a waiting room where you get your back taken. To escape, protect your neck and lapel first, block the seatbelt grip, pick a side, and either sit out to guard, roll under the near-side arm, or stand up and turn in. Train the escape from the moment you turtle, not after the hooks are in. Below is a simple system a white belt can drill this week.
If you're a white or blue belt, this scenario is painfully familiar: you get your guard passed, you scramble, you end up on your hands and knees, and within a few seconds your training partner has a seatbelt grip, a hook in, and your back. You tap. You reset. It happens again the next round. Turtle is one of the most misunderstood positions in Brazilian Jiu-Jitsu — beginners treat it like a shell to hide in, when it's actually a race against the clock. This guide gives you a simple, safe system to escape the turtle, defend back takes, and get back to a neutral position (ideally guard) before the position gets bad. Nothing fancy — just the fundamentals that work.
Key takeaways
- Turtle is a transitional position, not a defensive shell — the longer you sit there, the more likely you lose the back.
- Your first job in turtle is to kill the seatbelt grip and defend your neck and near-side lapel before you try to move.
- Keep your elbows glued to your knees, your forehead near the mat, and no space under your armpits.
- The three highest-percentage white-belt escapes are the sit-out to guard, the granby roll, and the stand-up-and-face.
- You escape based on where the opponent's weight is, not on which move you "like" — feel the pressure first.
- Never stand up carelessly with a hook in — that's how you get suplexed or dumped straight to your back.
- Drill the escape as one continuous motion from the moment you turtle; do not pause and think.
Why you keep getting stuck in turtle
White belts default to turtle because it feels safe. Your face is off the mat, your submissions aren't exposed, and you can breathe. The problem: in BJJ, turtle is where higher belts want you. It gives them access to the back — the single most dominant position in the sport.
Here's what usually goes wrong:
- You freeze. You turtle and then hesitate for a beat, hoping the position will improve on its own. It won't. Every second you spend still is a second your opponent uses to build a grip.
- You leave space under your armpits. That's an invitation for the seatbelt (one arm over the shoulder, one under the armpit, hands clasped).
- You try to stand up too early. Standing up before you've killed grips or checked for a hook is how you get dumped, suplexed, or backpacked.
- You react to the submission, not the grip. By the time you're defending a rear-naked choke, it's already very late.
The fix is a mindset shift: the moment you feel yourself turtling, you are already escaping. No pause, no shell, no thinking. You have a plan, and you execute it in one motion.
Remember. Turtle is a hallway, not a room. Walk through it — don't sit in it.
A simple 6-step system to escape the turtle
This is a beginner-friendly framework. Learn it in order. Steps 1–3 are your defensive base. Steps 4–6 are your three main exits. You'll pick the exit based on what the opponent gives you.
Step 1 — Lock the defensive shell
Before you move anywhere, you need a base that denies grips.
- Forehead near the mat, chin tucked to your chest.
- Elbows glued to knees, no gap on either side.
- Knees pinched, hips low.
- Same-side hand controlling your own collar/lapel (in the gi) so it can't be fed for a choke. In no-gi, hands hidden under your chin and against your neck.
If you nail this shell, most white belts across from you will struggle to find a submission grip. That buys you the two or three seconds you need to leave.
Step 2 — Kill the seatbelt before it settles
The seatbelt (one arm over your shoulder, one under your armpit) is the grip that leads to the back. Fight it immediately.
- If the top arm is coming over your shoulder, shrug that shoulder up and pin their wrist to your chest with your same-side hand.
- If the bottom arm is threading under your armpit, clamp your elbow down hard into your ribs so their hand can't reach across your body.
- Never let both grips settle. If one is in, fight the other one — never both at once.
Step 3 — Read the pressure
This is the step everyone skips. Before you choose an escape, feel where your opponent's weight is.
| What you feel | What they're doing | Best escape |
|---|---|---|
| Heavy weight driving straight down onto your upper back | Front headlock / trying to smash you flat | Stand-up-and-face |
| Weight loaded on one side, chest along your ribs | Setting up the back take on that side | Sit-out to the opposite side |
| Light contact, hands fishing for grips | They haven't committed yet | Granby roll or sit-out — whichever side is open |
| A knee sliding in near your hip | Hook is about to go in | Roll away from the hook side immediately |
If you can answer "where is their weight?" in a heartbeat, you'll pick the right escape almost every time.
Step 4 — Exit A: The sit-out to guard
The sit-out is the bread-and-butter turtle escape.
- Post your right hand slightly forward on the mat.
- Shoot your right leg through the gap between your left hand and left knee, sitting on your right butt cheek.
- As your leg clears, your body rotates so you're facing the opponent, seated.
- Immediately frame with your hands and recover guard — usually a seated open guard or butterfly.
Key detail: shoot the leg on the side where they have LESS weight. Sitting out into their pressure is how you feed them the back.
Step 5 — Exit B: The granby (forward roll under the armpit)
When the opponent's chest is glued to your back and they're heavy, the sit-out won't work — you don't have the frame to lift them. Try the granby.
- Tuck your chin hard to your chest. Never, ever roll on the top of your head.
- Post your forehead near your knee on one side.
- Reach that same-side arm through, and forward-roll over your shoulder (not your head), spinning under the opponent.
- You should land on your back or hip, facing them, with your legs between you and them — recover guard from there.
The granby is a scary move for beginners because of the neck. Practice it slowly, solo, on soft mats, before you use it in rolling. If your neck isn't comfortable with the movement, skip it and use the other two exits.
Step 6 — Exit C: Stand up and face
This is the go-to when they're smashing straight down on top of you.
- Confirm there is no hook in either leg. If there is, you cannot stand up safely — go back to Exit A or B.
- Post one hand, drive off the balls of your feet, and stand up while keeping your elbows tight.
- As you rise, turn to face the opponent, hand-fighting on the way up.
- You're now in standing — treat it like a takedown scramble and re-engage on your terms.
If you'd like a broader look at how these positions connect, our guide to BJJ positional hierarchy for beginners is a good next read.
Remember. Escape choice is dictated by their pressure, not by your preference. Feel first, move second.
Common mistakes white belts make in turtle
These are the mistakes that show up on the mat almost every day.
- Rolling on top of your head during a granby. This is a real injury risk. Roll on the shoulder, chin tucked, or don't roll at all.
- Standing up with a hook in. The opponent rides you like a backpack, or worse, dumps you backward. Always check for hooks first.
- Turning your back to sit out. If you rotate the wrong way, you literally hand them the back. Sit out toward open space, not into pressure.
- Fighting one grip at a time and forgetting the other. They chain grips fast. Peek for the second grip while you deal with the first.
- Reacting to the choke. If you're already peeling hands off your neck, the escape got skipped. Rewind — you should be escaping from the moment you turtle.
- Panic breathing. Slow your breath. A calm turtle escape is a fast turtle escape.
- Only drilling one exit. If you only know the sit-out, you'll be stuck when the opponent kills it. Rotate through all three.
How to actually retain this (where BJJ Memo fits in)
Here's the honest problem: most white belts read a guide like this, nod along, try it in rolling twice, and then forget the details by next week. That's not a discipline issue — it's a retention issue. BJJ is too dense to hold everything in your head from watching alone.
BJJ Memo is a small app built for exactly this. You paste a YouTube instructional (say, a turtle escape breakdown from a coach you trust), and the app turns it into a structured Technique Card — the steps, the key details, and tappable timestamps of the important moments. The card lives in your personal library, filed by position, and the app pings you to revise it before your next session. That's it. It doesn't teach you BJJ; it helps you remember what your coach and your favorite instructors already taught you.
If you want to see it in action, check the BJJ Memo blog for more position-by-position guides.
Frequently asked questions
Is turtle a legal and safe position in BJJ?
Yes. Turtle is a standard, legal position in BJJ (gi and no-gi) at every level. The safety concern isn't the position itself — it's what you do from it. Rolling on the top of your head, or standing up with hooks already in, are where injuries happen. Trained slowly, the escapes in this guide are safe for beginners.
How is turtle different from just being on all fours?
Turtle specifically means a compact, low position — forehead near the mat, elbows to knees, no space. "All fours" with your hips high and elbows off your knees is not turtle; it's an open target. The tighter your shell, the fewer grips the opponent has to work with.
What should I do if the seatbelt grip is already locked in?
Once the seatbelt is locked and hands are clasped, your priority shifts from escaping turtle to preventing the back take. Trap the wrist of their choking arm (the one over your shoulder), keep both shoulders on the mat, and start to work back escapes rather than turtle escapes. Ask your coach for a beginner back-escape drill — it's a separate skill.
Can I just sit through to guard every time?
Sometimes, but not always. If the opponent has heavy chest pressure driving you flat, the sit-out won't work — you'll try to sit out into their weight and feed them the back. That's why you need at least two options (sit-out plus stand-up or granby) so you can pick based on their pressure.
How long should I drill this before it works in rolling?
Honestly, longer than you'd like. A movement like the sit-out only becomes automatic after a lot of reps in low-pressure drilling. Ask a partner for turtle-specific rounds where they only try to take your back — that's how you build reps against real resistance without spending a whole roll on it.
Should I learn the granby if I have any neck issues?
No. If you have any history of neck problems or you're uncomfortable rolling forward, skip the granby entirely and rely on the sit-out and the stand-up. Two solid escapes beat three shaky ones. Talk to your coach and, if needed, a medical professional before drilling anything that loads the neck.
Your next step
Pick one exit — probably the sit-out — and drill it every class this week from the moment you turtle. Not after you're comfortable. From the first moment. Then add the second exit. Then the third. Within a month, you'll notice you're not spending time in turtle at all — you're moving straight through it.
And for the details you learn in class and from your favorite instructionals, save them as a Technique Card in BJJ Memo so they're there when you need them before your next roll.
Teacher disclaimer: This guide is educational. BJJ is a contact sport and details matter. For real feedback, safety, and progression, train these escapes at a legitimate academy with a qualified coach — BJJ Memo helps you remember and revise, it doesn't replace mat time. If you have any existing injury, especially of the neck, spine, or shoulders, consult a medical professional before drilling.
Last updated 2026-08-30.