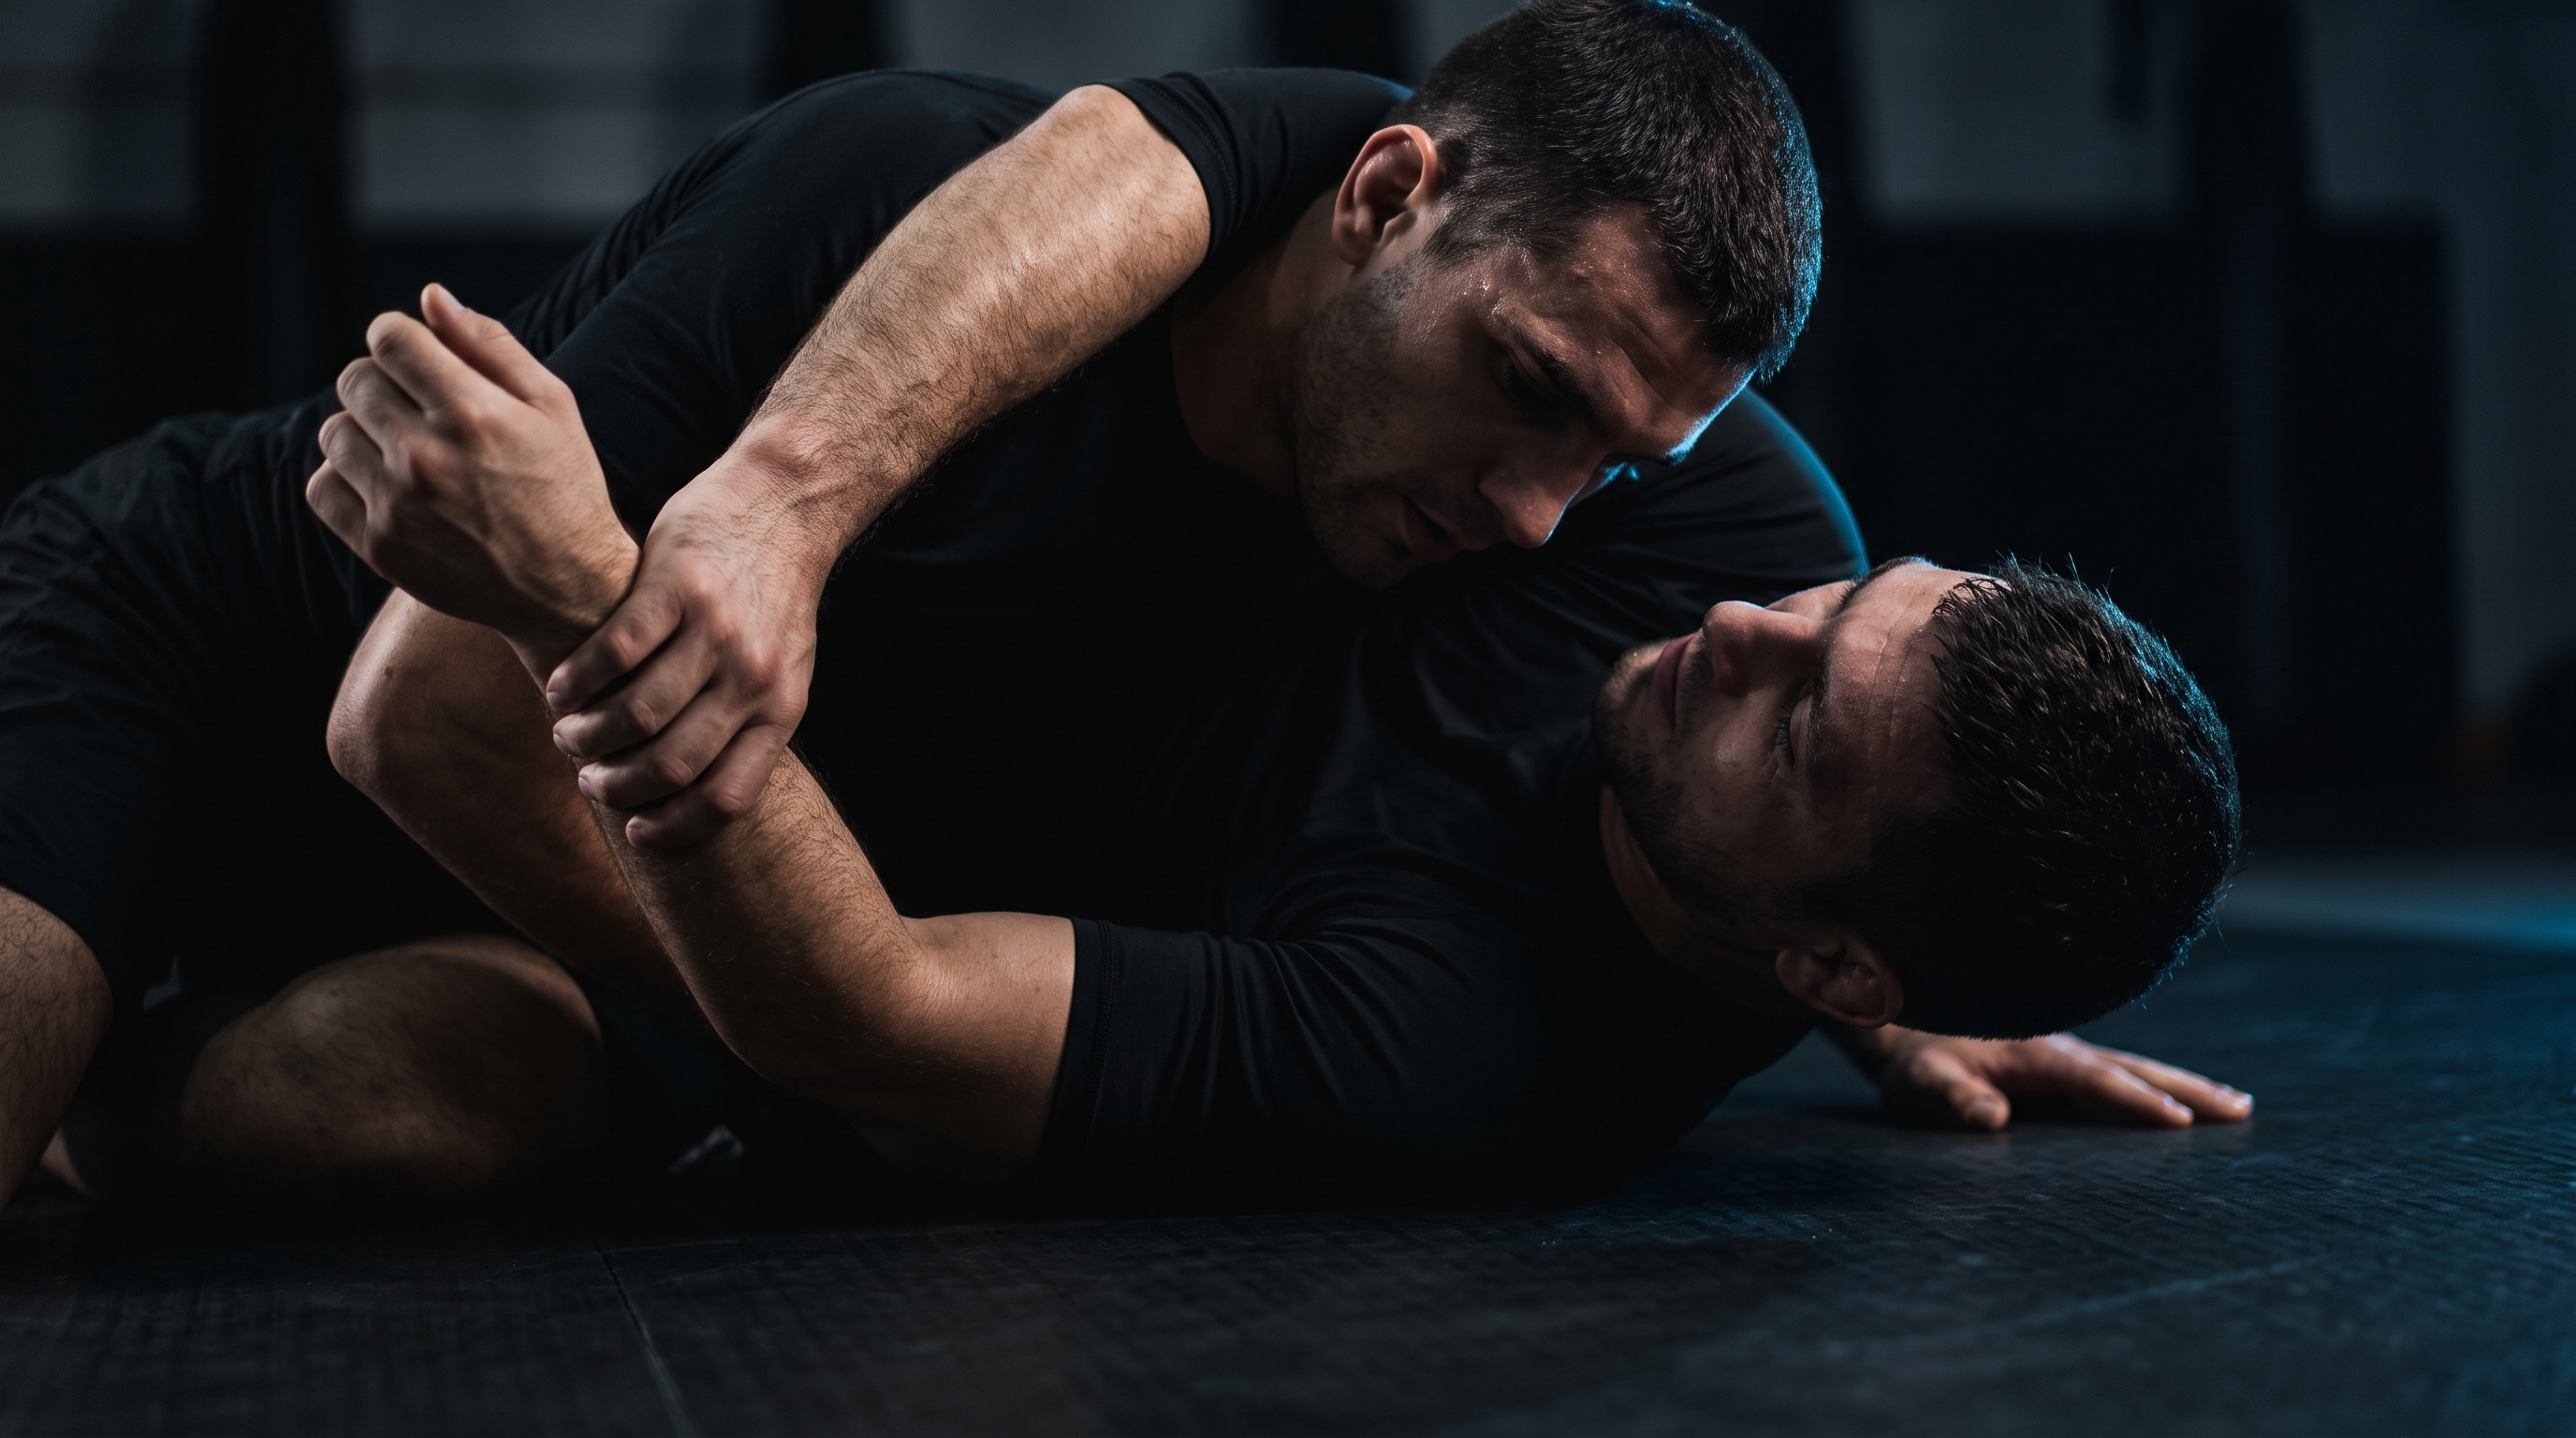
Kimura from Side Control: Grip, Angle, and the Finish Detail Most People Miss
TL;DR. The kimura from side control fails for most people because they chase the arm instead of controlling the shoulder. Pin the far hip first, break the elbow off the mat, secure a figure-four grip with your wrist thumbless, then step your near knee to the head and rotate the arm behind the back — not up toward the head. Finish by lifting the elbow, not by cranking the wrist.
Ask any brown belt what their favorite side control submission is, and a huge chunk will say the kimura. It works in the gi and no-gi, at every belt level, and it flows into sweeps, back takes, and other submissions when it fails. It's also the attack most beginners butcher — they grip the wrist, pull up toward the ceiling, and wonder why nothing happens except their partner ripping their arm free.
This guide walks through a simple, repeatable system for the kimura from side control: how to force the arm into position, how to build the grip, the angle change that makes the lock inescapable, and the finish detail that turns a defended attempt into a tap. It is written for white and blue belts who understand basic side control but keep losing the arm at the finish.
Key takeaways
- The kimura is a shoulder lock, not an arm crank — the finishing force rotates the humerus in the shoulder socket.
- You need the bottom player's elbow off the mat before you grip; a flat elbow makes the lock nearly impossible to isolate.
- A figure-four grip with a thumbless wrist grip is stronger and harder to strip than a thumb-wrapped grip.
- Killing the bottom player's cross-face frame is what actually creates the angle to attack.
- Step your near knee to their ear to prevent the classic escape of turning in and hugging your leg.
- The finish direction is behind the back at roughly a 90-degree angle at the elbow, not straight up toward the head.
- If they lock their hands to defend, switch to a same-side armbar, straight armlock, or transition to north-south kimura instead of forcing the finish.
Why this happens (why the kimura keeps slipping)
Most failed kimuras from side control fail for the same handful of reasons, and none of them are strength.
You gripped too early. If the bottom player's elbow is glued to the mat and their arm is tight to their ribs, you cannot build a figure-four with any leverage. You end up wrestling the wrist while their shoulder stays safe. The grip is the last thing you do, not the first.
You attacked into their frame. When the bottom player has a strong cross-face frame under your chin or across your jaw, they can turn away from you, which is exactly the direction the kimura needs to not go. You are pulling the arm into the strongest defensive line they have.
You pulled straight up. The kimura finishes by rotating the shoulder joint. If you yank the wrist toward the ceiling, you are doing an arm curl on a full-grown human. If instead you drive the arm behind their back along the mat, the shoulder rotates and taps almost immediately.
You let them lock their hands. The second the defender's free hand grabs their own belt, their own gi, or your leg, your kimura is on ice. Prevention is easier than breaking a grip — you want the arm isolated before they realize what's happening.
Remember. The kimura is not a wrestling match for the wrist. It is a system that isolates the shoulder, cuts off the defensive frame, and finishes with rotation.
A simple system: 6 steps to the kimura from side control
Here is a repeatable sequence. Drill it in this order every time until it becomes automatic.
1. Kill the cross-face and settle chest-to-chest
From orthodox side control, your chest should be heavy on their chest, your near arm under their head, and your far arm framing their far hip. Before you attack anything, kill their cross-face frame — pin their far elbow to the mat with your ribcage, or use your near hand to peel the frame off your jaw. If they can push your face away, they can turn in and escape.
2. Trap the far wrist and walk it toward their head
Switch your hips slightly so you're facing more toward their legs (a shallow reverse or 100-kilos position). Use your far hand to grab their far wrist and walk it up above their shoulder line, close to their ear. This puts the arm in the L-shape the kimura needs. Their elbow should come off the mat naturally as the wrist travels up.
3. Feed the wrist and build the figure-four
Slide your near arm (the one that was under their head) between their bent arm and their head. Grab their wrist from behind with a thumbless grip — four fingers over the top of their wrist, thumb on the same side as the fingers. Then reach your far hand back through and grip your own wrist. That's the figure-four. Thumbless is stronger and harder to strip than a thumb-wrap.
4. Step your near knee to their ear
This is the step almost everyone skips. Post on your far foot, keep your chest heavy on their bent arm, and walk your near knee up until it's touching their ear or the top of their head. This does two things: it kills the primary escape (turning in and hugging your leg), and it opens the angle behind their body where the finish lives.
5. Sit through to a modified north-south angle
Keeping the figure-four locked, sit your hips through so you're facing roughly perpendicular or slightly toward their head. Your body weight now pins the shoulder blade to the mat while your grip controls the wrist. This is the position where the shoulder is truly isolated — the arm cannot follow the body because you own both ends.
6. Drive the wrist behind their back (not up)
With the shoulder pinned, drive their wrist along the mat toward their belt line — behind their back, not up toward the ceiling. Keep the elbow bent at roughly a right angle throughout. Lift the elbow slightly as you rotate. The shoulder joint has nowhere to go and the tap comes fast.
Quick reference: the six-step kimura
| Step | Action | Common mistake |
|---|---|---|
| 1 | Kill the cross-face, settle chest-to-chest | Attacking with their frame still under your chin |
| 2 | Walk the far wrist up to their ear | Grabbing the wrist while the elbow is glued down |
| 3 | Figure-four with thumbless grip | Thumb-wrapped grip that gets stripped |
| 4 | Near knee steps to their ear | Leaving the leg away, letting them hug it |
| 5 | Sit through to a north-south angle | Staying square, giving them room to turn in |
| 6 | Drive the wrist behind the back, elbow bent ~90° | Pulling straight up toward the ceiling |
Common mistakes (and quick fixes)
Mistake: You lose the arm as soon as they straighten it. Fix: Before you commit to the figure-four, bend their arm by lifting your near elbow under their tricep. If the arm is straight, you are not attacking a kimura — you are attacking an americana or a straight armlock. Pick a lane.
Mistake: They lock their hands and defend. Fix: Do not try to out-strength their two hands with your two hands. Instead, step over their head into a modified mount or transition to a same-side armbar by threading your leg over. Threats create the break.
Mistake: They turn in and hug your leg. Fix: The near knee to their ear (Step 4) prevents this. If it's already happened, switch to a leg-hug pass or transition to a back take rather than fighting to keep the kimura.
Mistake: You crank and they don't tap. Fix: Check the finish direction. If you're pulling toward the ceiling, you're stalling the shoulder. Redirect the wrist along the mat toward their belt and lift the elbow. The angle is what taps them, not the effort.
Mistake: You get swept because your base is bad. Fix: While building the grip, keep your far foot posted wide and your hips heavy. If you feel yourself getting lifted, put the grip aside for a moment, re-base, and rebuild. A perfectly executed kimura is worthless if you land on your back.
Remember. If the defender's free hand is not controlled, your kimura is on a timer. Isolate the arm first, then grip.
How BJJ Memo fits in
The reason most grapplers never truly own the kimura from side control is not that they haven't been shown it — it's that they see the detail in class or in a YouTube instructional, then forget the specific step (the thumbless grip, the knee to the ear, the finish behind the back) by the next training session. Watching more videos does not fix this.
BJJ Memo is built for exactly this problem. Paste a YouTube URL of a technique like this one and the app generates a structured Technique Card — steps, key details, and tappable timestamps of the visual moments — that you can revise in one click before you drive to the gym. Your side control attacks, your guard passes, your escapes all live in a searchable personal BJJ library, and a quick revision flow surfaces them before your next roll. It's a retention tool, not a coach — see the BJJ Memo blog for more breakdowns like this one.
Frequently asked questions
Is the kimura from side control safe to drill?
Yes, when drilled slowly and with a communicative partner. The kimura is a shoulder rotation, so tap early and reset — do not wait for pain to start. New training partners in particular should be told the tap should be immediate on shoulder rotation submissions. Any shoulder lock can cause injury if cranked, so build the position, feel the resistance, and stop.
Should I use a thumb-wrapped grip or a thumbless grip?
A thumbless grip (four fingers over the wrist, thumb on the same side) is generally stronger and harder to strip because the defender cannot peel a single digit off. It also aligns your forearm bones better for the rotation. Some players still use a thumb-wrapped grip and it can work, but thumbless is the more reliable default.
What if my partner is stronger than me and defends by locking their hands?
Don't grip-fight two-on-two. Threaten a transition: step over their head into an armbar, switch to a straight armlock by isolating the elbow, or transition through to north-south where you can attack a north-south kimura with much more leverage. The kimura from side control is one node in a system, not a dead end.
Does this work in no-gi as well as in the gi?
Yes. The mechanics are identical. In no-gi, the wrist is more slippery, so the thumbless figure-four grip matters even more, and the transitions when they defend (arm-in guillotine, straight armlock, north-south) are often faster because there is no collar or sleeve to hold onto.
Why does my kimura feel weak even when I have the grip?
Almost always one of three things: your near knee is not up by their ear, so they can turn in and off-balance you; your finish direction is toward the ceiling instead of behind their back; or their elbow is straight instead of bent at a right angle. Check those three before you assume it's a strength problem.
How long does it take to get good at this submission?
For most people, a few focused weeks of drilling and live rolling is enough to start hitting it at their own belt level. The trick is repetition with intent — five reps a session on the specific detail you missed last time, not fifty sloppy reps. This is where structured revision between sessions makes a real difference.
Bring it to the mat
The kimura from side control is not a strength move and it's not a lucky scramble finish — it's a positional attack with a clear grip, a clear angle, and a clear finish direction. Drill the six steps in order, fix the common mistakes one at a time, and it becomes one of the most reliable submissions in your top game.
For real feedback and safety, train the technique at a legit academy with a qualified coach — BJJ Memo helps you remember and revise, it doesn't replace mat time. Next time you watch a kimura instructional, save it as a Technique Card in BJJ Memo so the grip, the angle, and the finish are one tap away before your next session.
Last updated 2026-08-17.